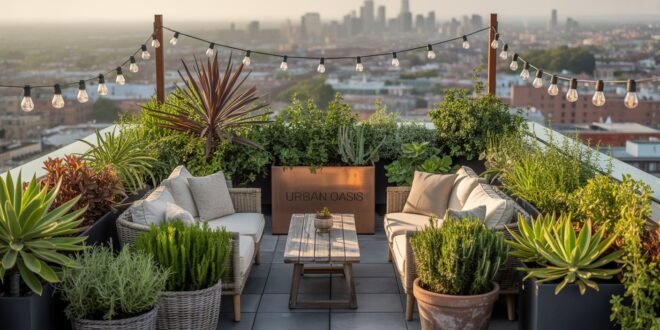
Imagine stepping onto your roof to find layers of green swaying above the traffic below. I once swapped a single pot for a three-tier forest and watched the skyline fade into a leafy backdrop.
Stick with me and you’ll see how to stack heights for park-like depth, paint the rails with eye-level blooms while your feet stay free, and choose wind-wise plants that laugh at rooftop gusts. Ready to climb that first lush tier?
Layer Lush Heights for Parklike Depth
Picture stepping onto a plain roof deck and seeing plants at three heights—ground, knee, and head. That quick trick turns flat cement into a tiny park you can wander with a mug of coffee. In the next parts we’ll stack floor pots, perch planters on a bench, and finish with one proud tree that brushes the sky. We’ll also talk about how to keep the skyline open so you never lose the sunset. By the end of this section, you’ll know exactly where every pot should stand and why your shoes will never trip on stray roots.
All these moves save space, add drama, and make renters look like pro designers without touching a drill. You’ll still have room for a chair, a rug, or that folding table you love. Best of all, the layered look builds soft green “walls” that hush city noise. It’s apartment magic—big-park feeling in the footprint of a doormat.
Mix Floor Pots Benches and a Statement Tree
You don’t need an army of plants, just the right few in the right spots. By stacking low, medium, and tall, the eye climbs and the deck feels deep instead of cramped.
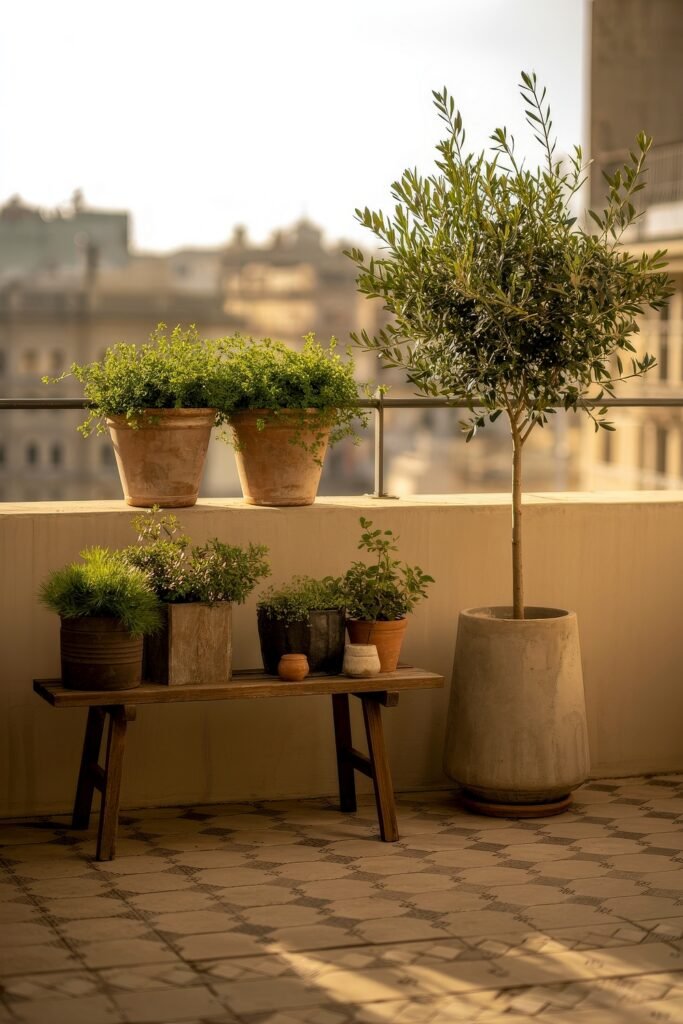
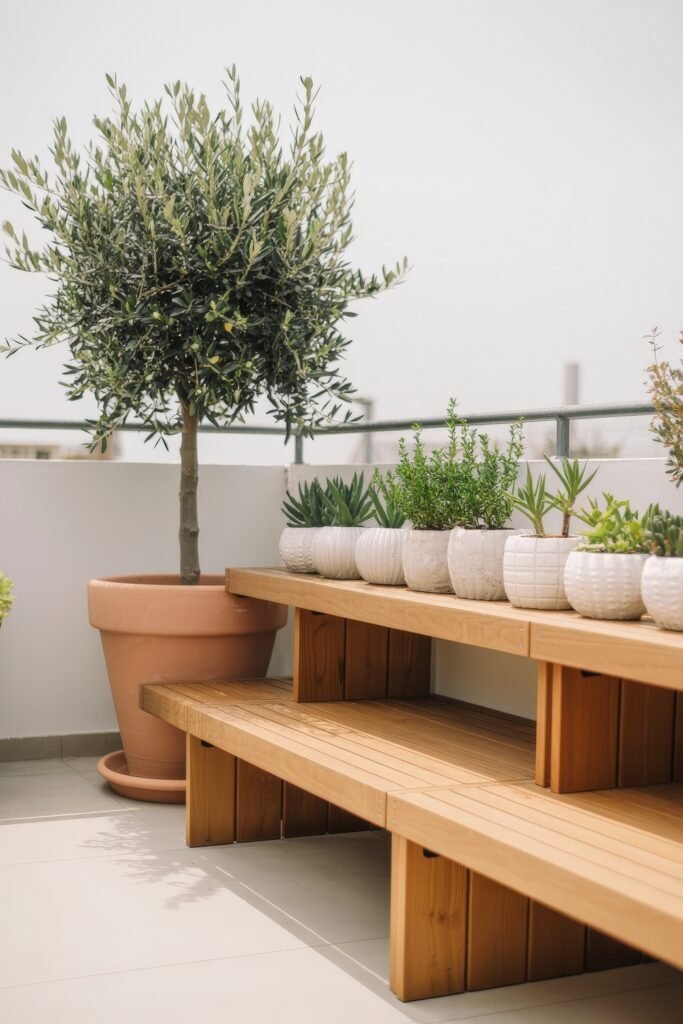
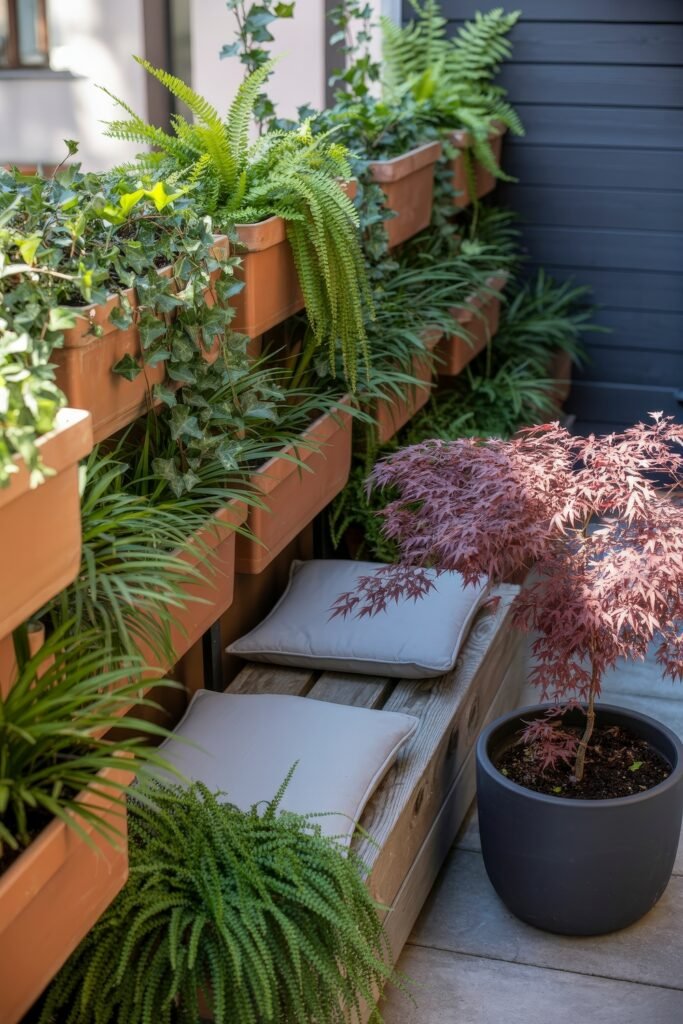
Anchor with big floor pots
Set two or three chunky pots on the ground in a loose triangle. Go lightweight so you can still scoot them around. The wide bases stop wind from bowling them over. Because they sit low, you can place a rug or small table in front without knee bumps. Think of these as the roots of your new mini-forest.
Add a bench plant shelf
Slide a skinny bench behind those pots and line it with midsize planters. The bench acts like a second floor and also offers a perch for guests. When brunch is done, the plants reclaim the surface, and clutter stays hidden underneath. It’s seating on Saturday, plant stage on Monday.
Crown with one tall tree
Finish the stack with one slim tree in a tall planter. A dwarf olive or little maple works great. The trunk draws the gaze up but leaves view lines clear. Even on a windy roof, a single tree feels calm and sculptural. Water it well, lock small wheels, and you’re set.
Three tiers read like a living painting. You stay on the same slab of concrete, yet your eyes travel from floor to canopy. The floor stays open for people feet, not plant feet. Renters love it because nothing is nailed down, and movers love it because every pot slides out the door.
Quick tip: Spin the tree a quarter-turn every month so it grows straight and looks even from every chair.
Stagger Sizes to Keep Skyline Views Open
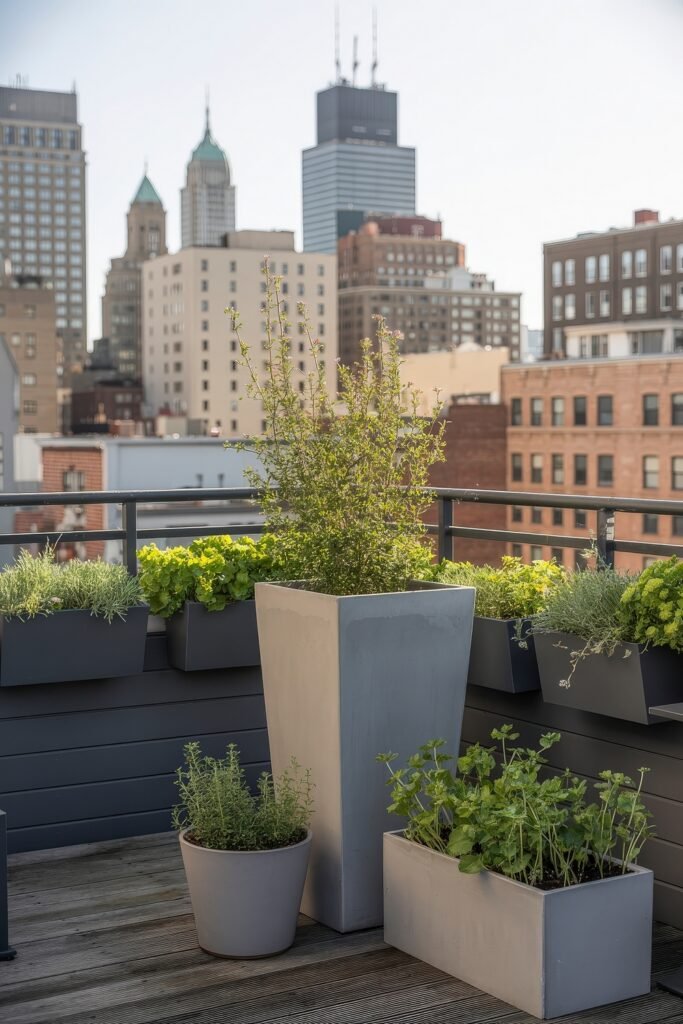
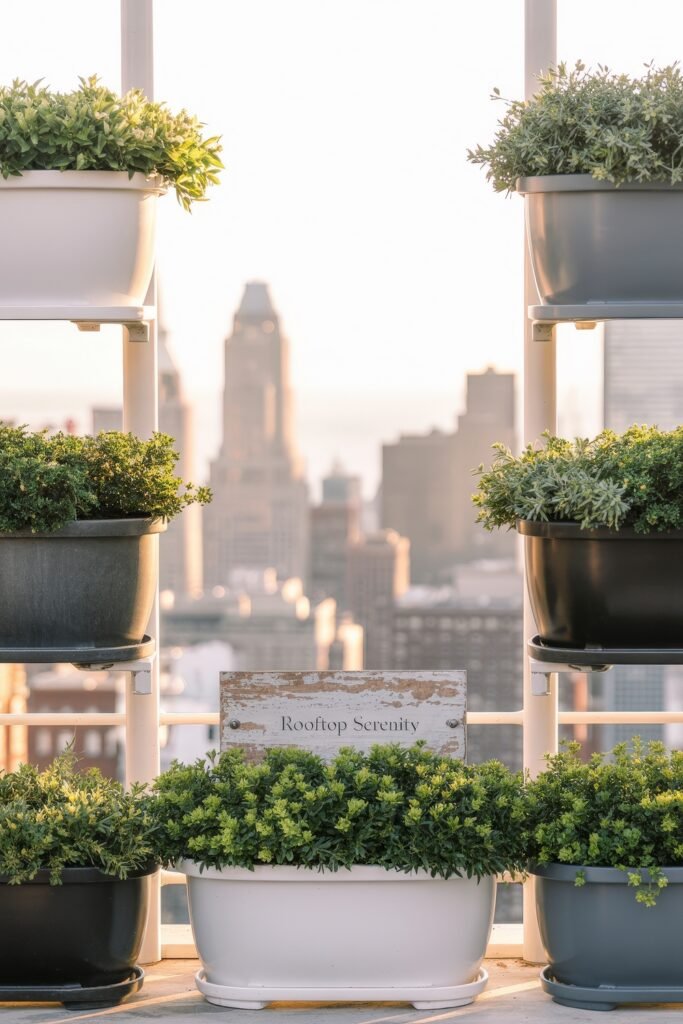
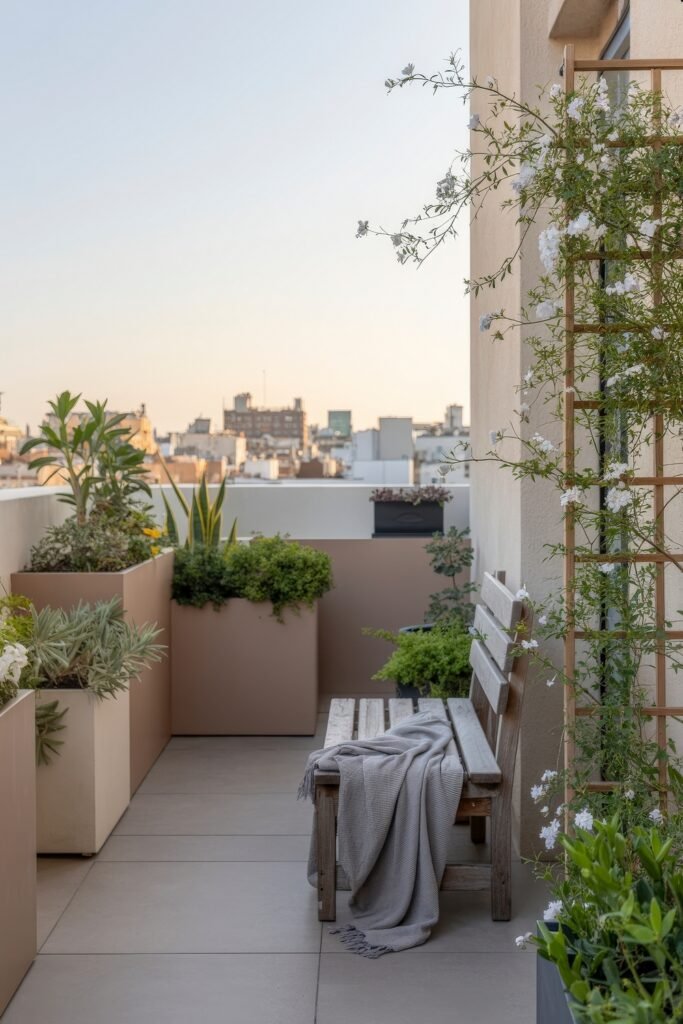
A rooftop view is pure gold, so let plants frame, not block, the good stuff. By shifting planter heights left and right, you create sneaky “windows” to landmarks, sunsets, or even the neighbor’s rooftop cat parade.
Offset the tallest pot
Place the highest planter a little off-center. That tiny shift makes the layout feel natural and opens a clean sightline. Guests will lean toward the gap, snap photos, and thank you later.
Layer medium then small
Line midsize pots along the back rail and tuck little herbs up front. This keeps walking space wide and makes the deck look deeper than it is. The graded heights also stop plants from shading one another, so every leaf grabs the sun.
Keep colors calm
Stick with two or three pot shades—maybe soft white and weathered gray. A simple palette lets foliage shine and stops the eye from bouncing around. It’s the same trick stylists use on photo shoots, only here it’s your Tuesday lunch spot.
Graduated heights plus calm colors frame your city view like a postcard. You get lush greenery without hiding the show outside. Even the smallest apartment terrace can feel layered, roomy, and totally intentional.
How to: Slip thin pot risers under back-row planters when you need an extra inch of lift but don’t want to buy new pots.
Hang Instant Color Along the Rails
Flower boxes on the railing shout “garden” before your toes hit the deck. In the next minutes we’ll load baskets with trailing blooms and keep the floor clear for actual feet. You’ll learn which plants spill like waterfall confetti and how to stop a wobbly box from taking flight in a gust. We’ll end by showing why a tidy rail keeps brunch chairs scooting smooth. All of it fits renters, tight budgets, and anyone scared of drilling holes.
When boxes hang at eye level, color meets visitors first, and nobody has to bend to sniff a petunia. Plus, freeing the floor means more room for yoga mats, dance moves, or a sleepy dog. Ready to raise those flowers?
Fill Railing Baskets with Trailing Blooms
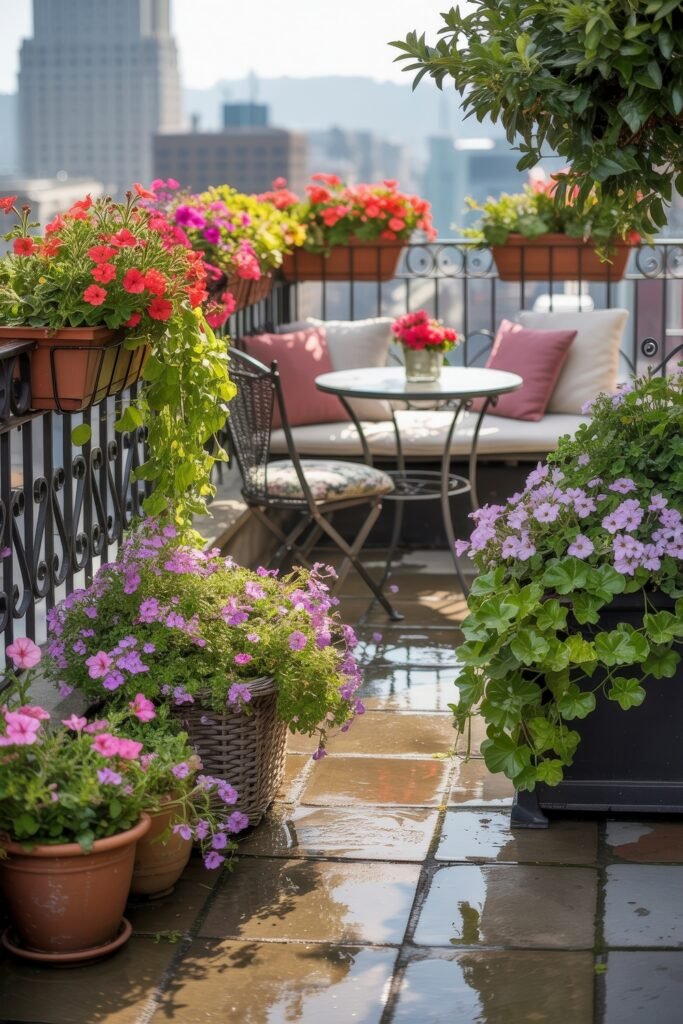
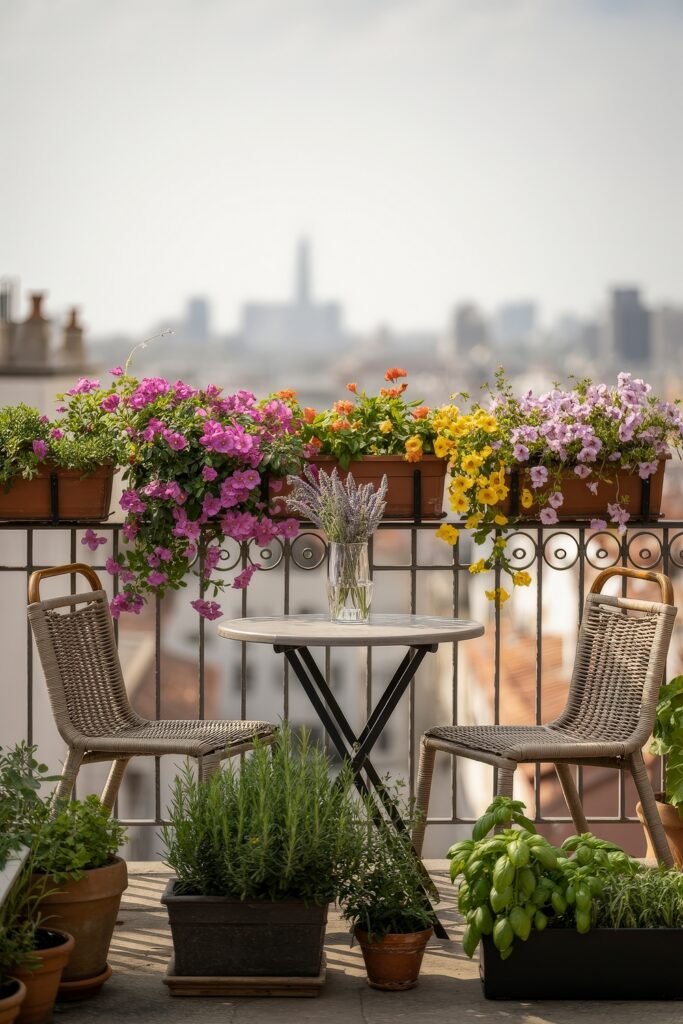
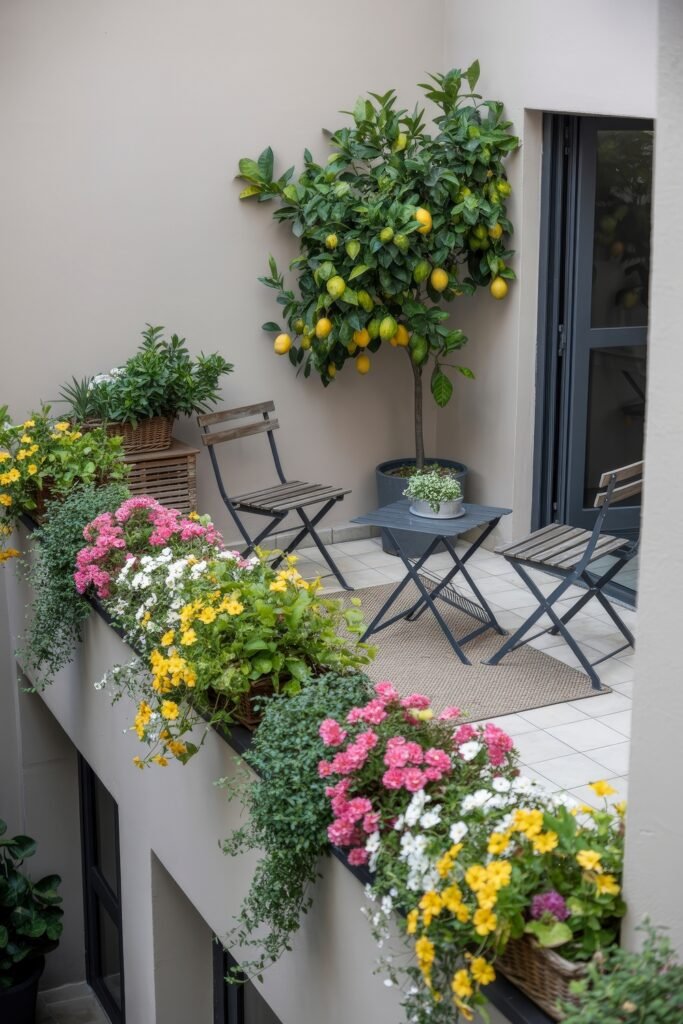
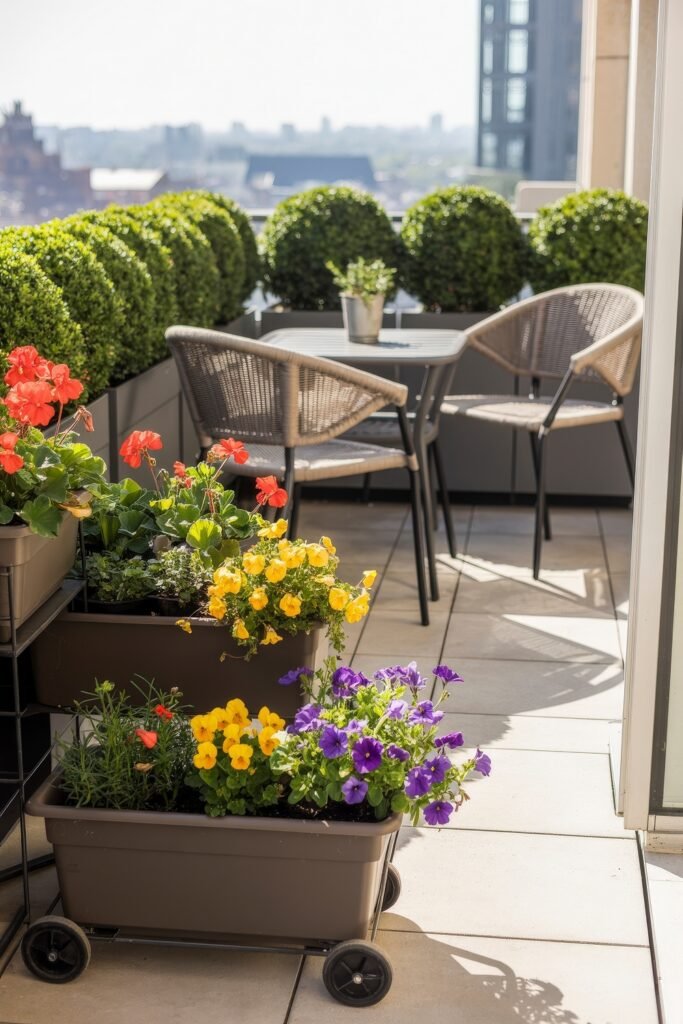
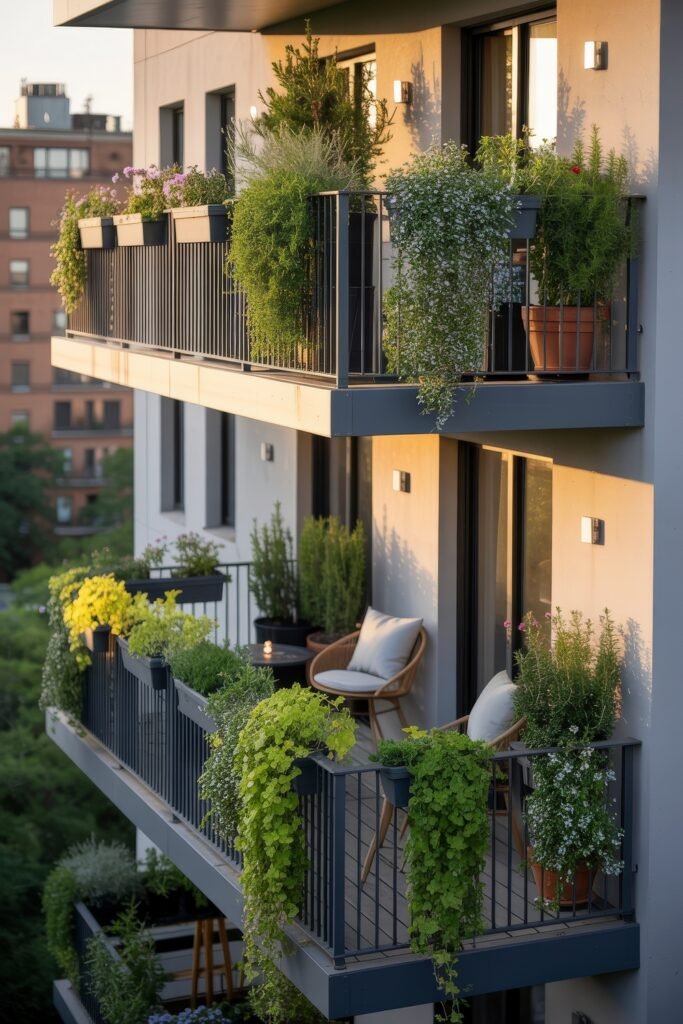
Clipped to the rail, planters sit right where sunlight hits and smiles land. Choose spillers that keep blooming all summer, and you’ll feel like you’re dining in a hanging garden.
Pick petunias and pals
Go for petunias, million bells, or ivy geranium. These champs bloom nonstop with little fuss. Their stems drape fast, hiding the box edge so it feels like flowers grow right out of thin air.
Mix warm and cool colors
Blend reds with purples or peaches with blues. The slight clash keeps each box lively without looking messy. It’s like wearing mismatched socks on purpose—fun and totally allowed.
Trim the first flush
After the first bloom burst, snip the tips. Plants will branch and spill even farther over the rail. More stems, more flowers, more wow.
Eye-level blooms bring instant cheer and smell lovely after rain. And because dirt and water stay above the deck, you won’t track mud inside. Small move, huge color payoff.
Pros & Cons: Railing boxes add pop and save space, but they dry out faster in wind—add an extra watering day in high summer.
Keep Foot Traffic Clear Beneath
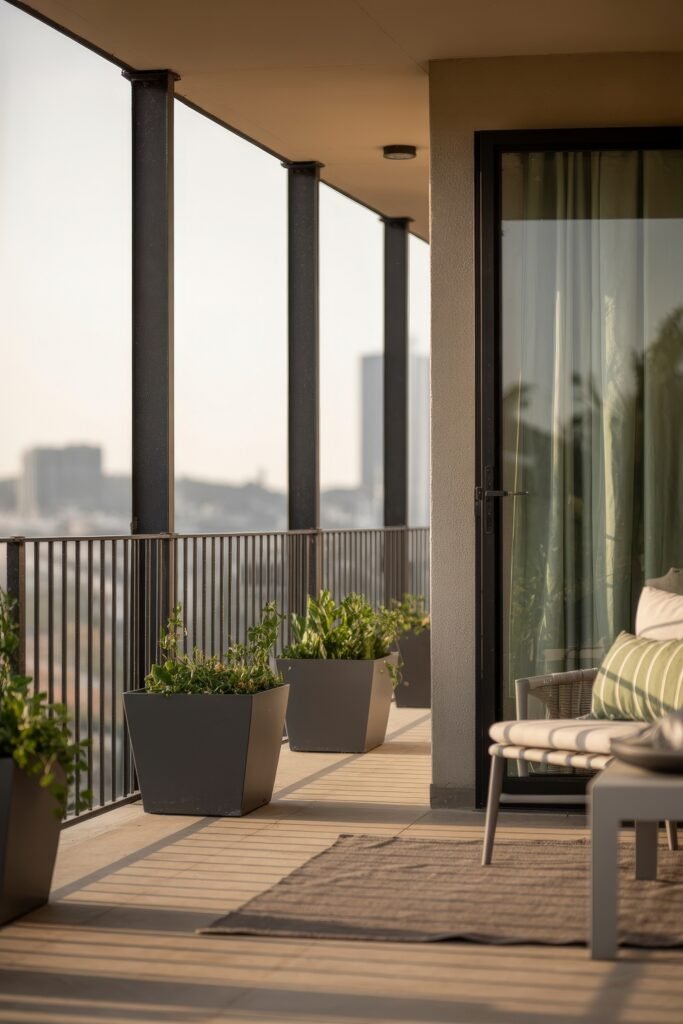
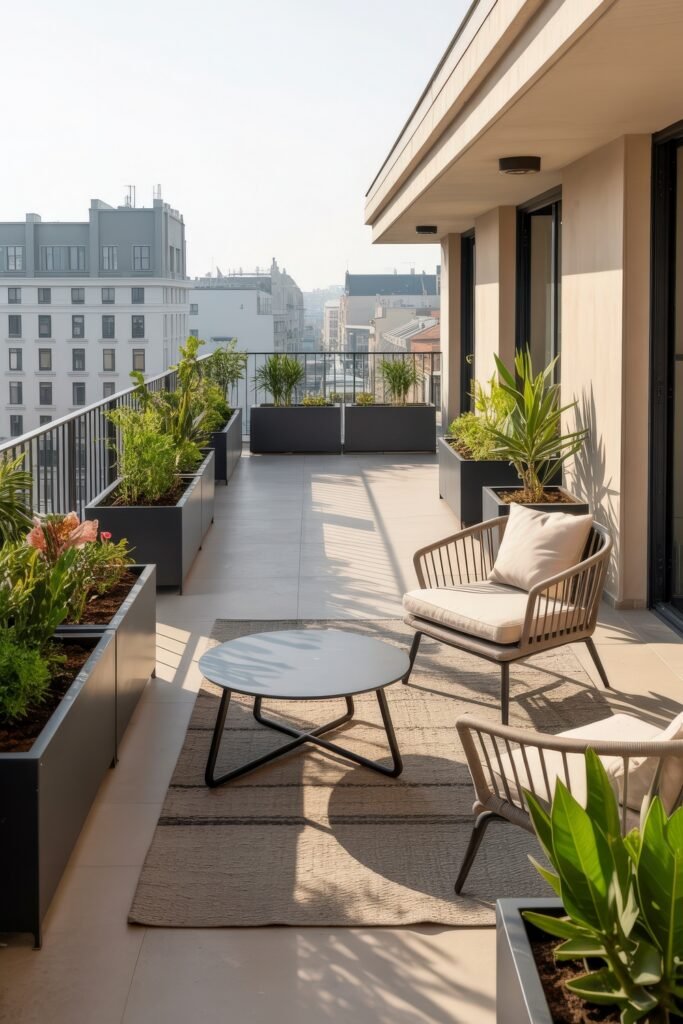
Nobody loves tripping over pots while carrying hot coffee. By hanging planters up top, the deck floor stays wide open and much safer.
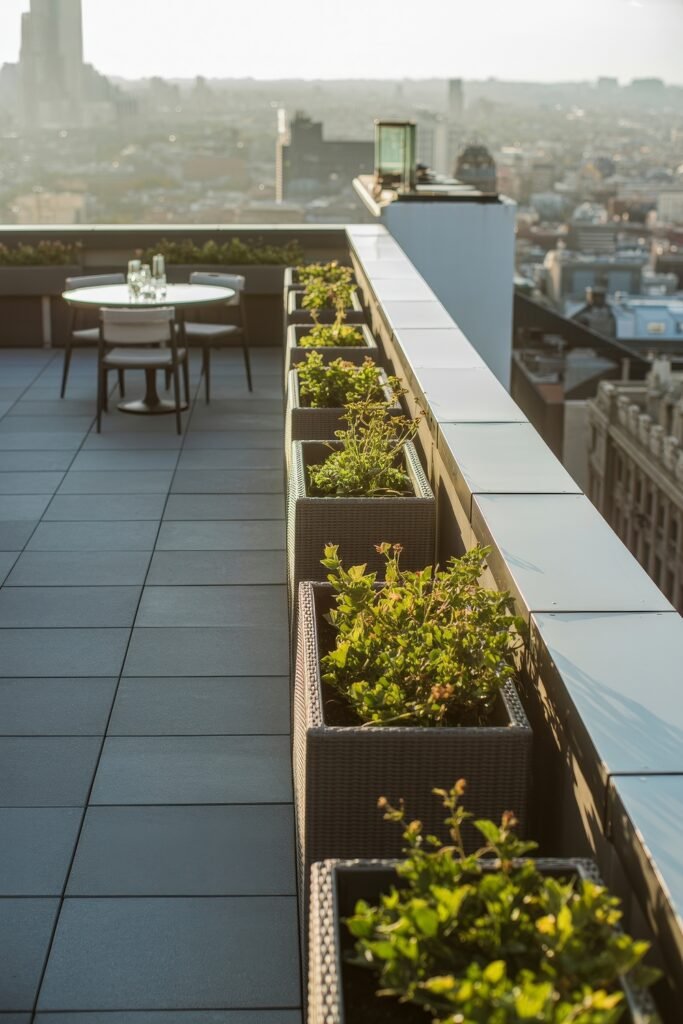
Center boxes over posts
Hook heavy boxes right over railing posts. That extra support keeps them steady when friends lean in for selfies. Adjustable brackets help the box hug tight so it won’t tilt.
Leave a photo gap
Skip one rail section so guests can rest arms or snap skyline shots. The break feels intentional and gives eyes a breather between color blasts.
Drain outside, not inside
Most boxes have little holes underneath. Make sure the drips fall outside the rail, not onto your deck boards. Less puddle, less slime, happier socks.
With plants hanging high, chairs slide easy, kids run laps, and there’s no fear of knocking over a precious pot. It’s the fast way to turn a cramped balcony into a true room.
Quick tip: Use light plastic or fiber boxes—your roof and back will thank you when move-out day arrives.
Weave Climbing Vines into Living Screens
Sometimes you want city buzz; other times you crave a leafy hideout. Vines give you both. In this part we’ll lean a simple lattice against the rail or string skinny cables up to the ceiling. Fast-growing climbers will do the rest, weaving a gentle screen that filters light and noise. By the end, you’ll know which plants are tidy in pots and how to lock panels down so they don’t sail off in a storm.
Living screens beat boring walls because they sway, smell sweet, and invite birds. They also pop off fast if the landlord rings your bell. Let’s build one.
Train Vines Over Lattice for Privacy
A lattice panel is like a blank comic strip—your vine draws the story.
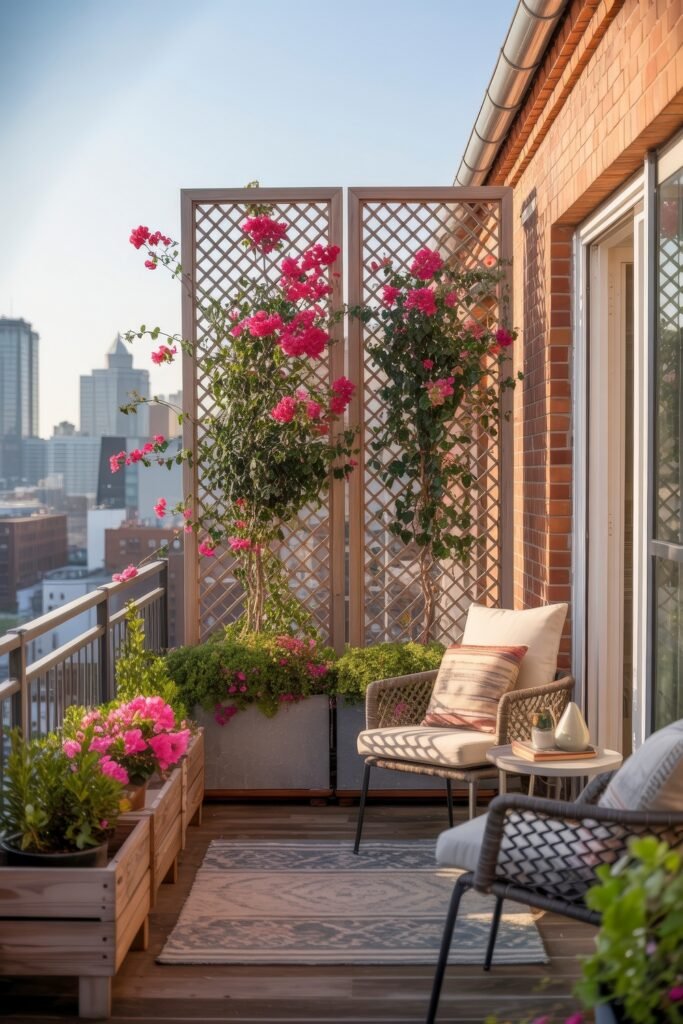
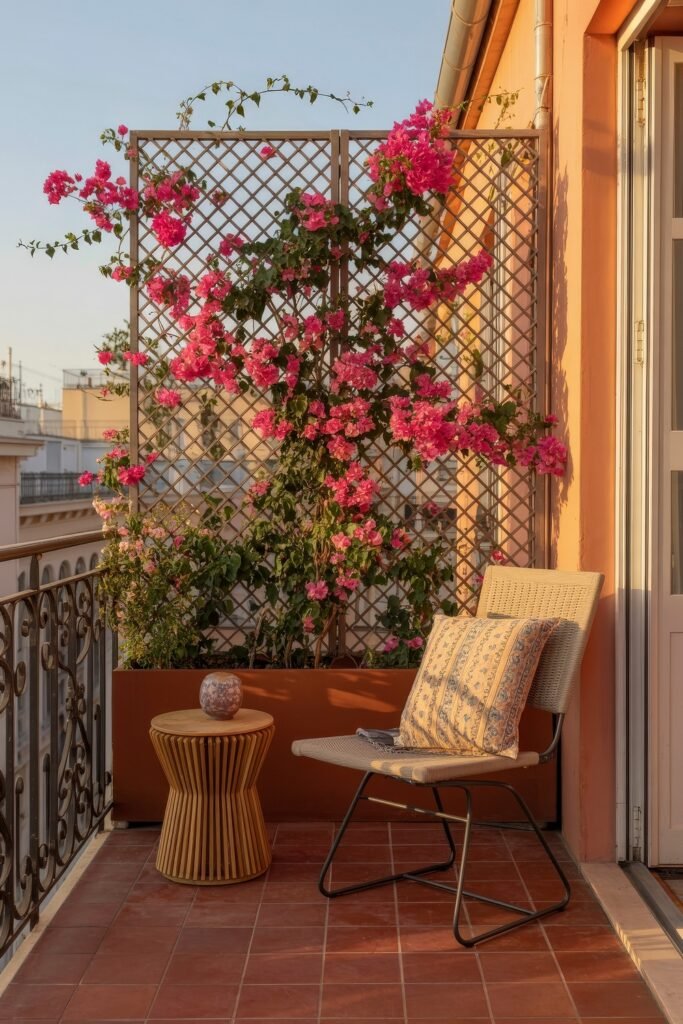
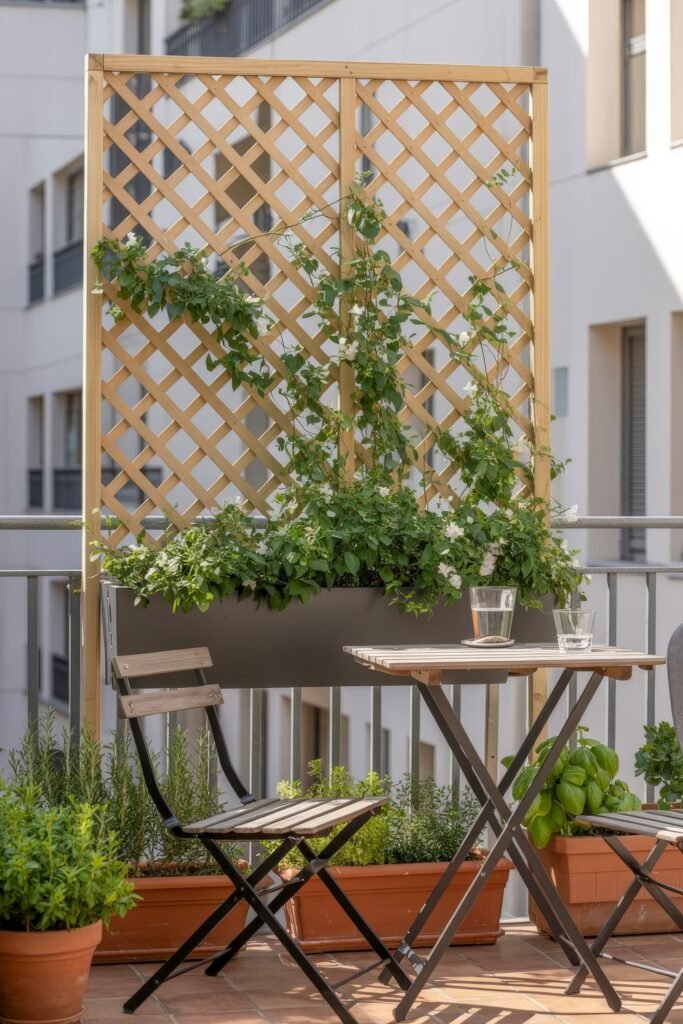
Stand a light lattice
Choose wood or PVC that you can move solo. Lean it against the rail and zip-tie it to posts. No tools, no holes, no drama.
Pick a polite climber
Star jasmine, black-eyed Susan vine, or dwarf bougainvillea fill in fast but stay neat. Their thin stems weave through the grid without cracking it.
Weigh the pot
Wind happens up high. Use a wider planter or add bricks inside so the whole tower doesn’t tip over. A stable base means peaceful naps later.
In weeks you’ll have a leafy wall that blocks nosy neighbors without blocking sunshine. When you move, snip the ties and roll away.
How to: Tuck the vine’s pot right behind the panel—the leaves will lean outward and hide the lattice in no time.
Add Cable Trellises to Frame Views
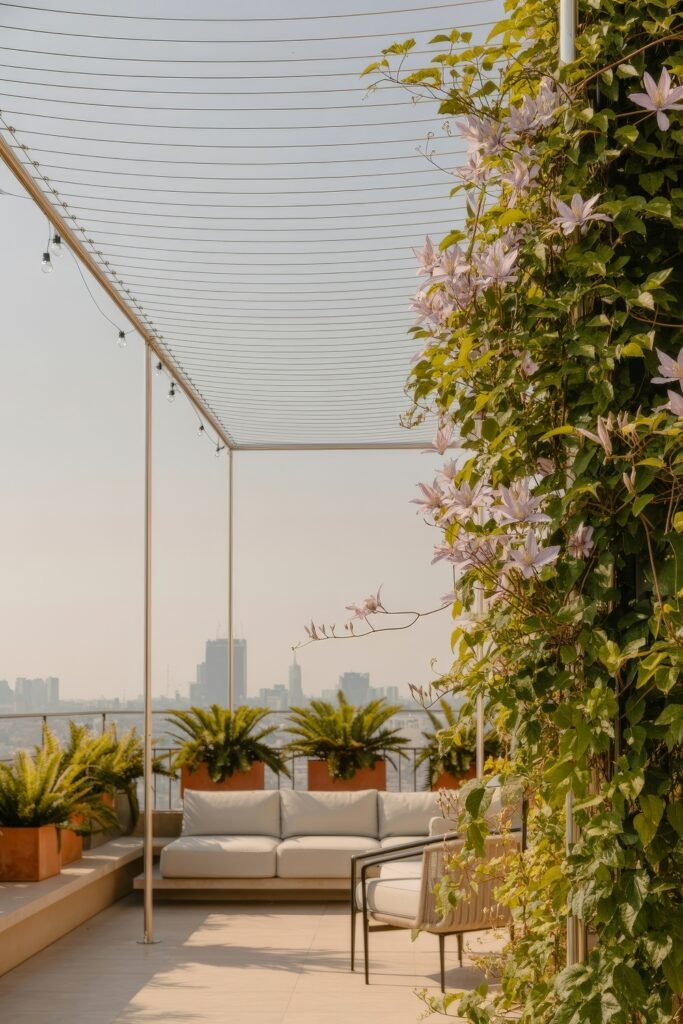
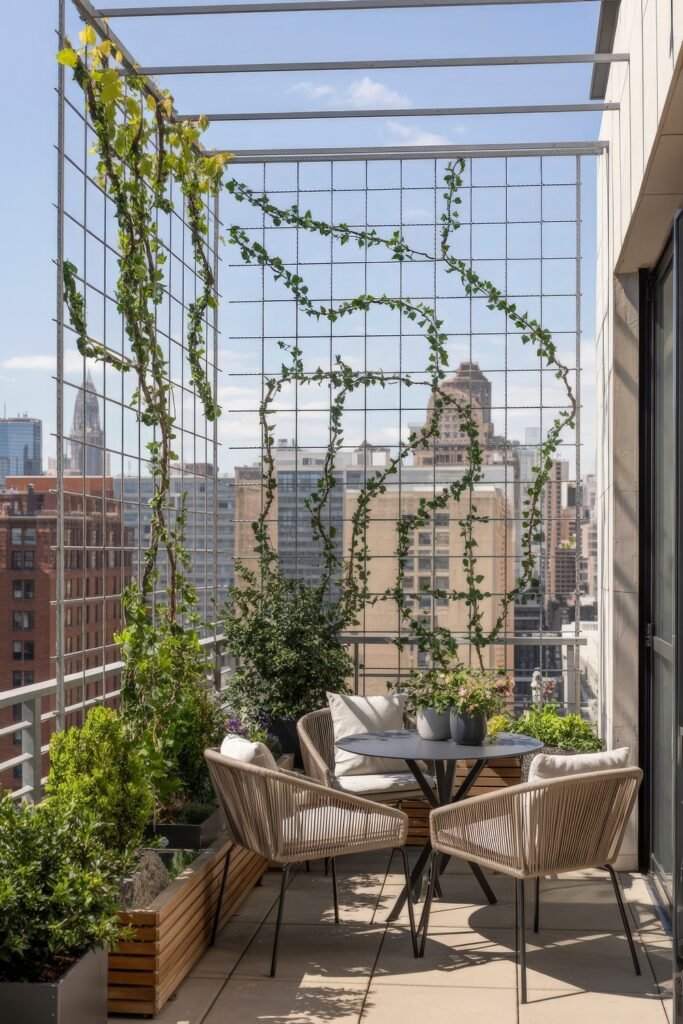
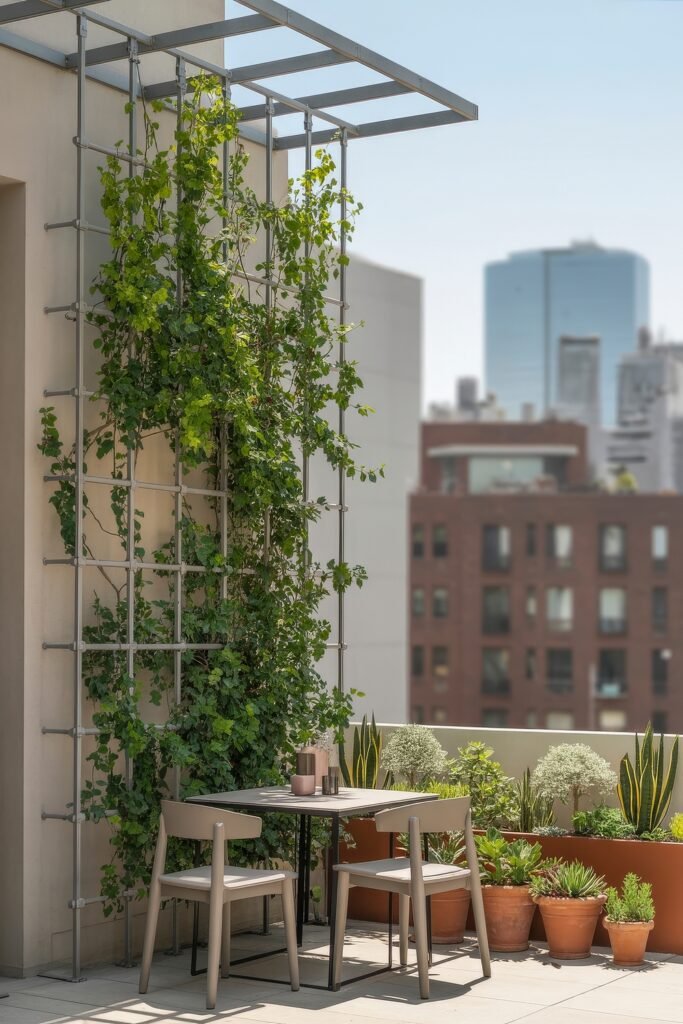
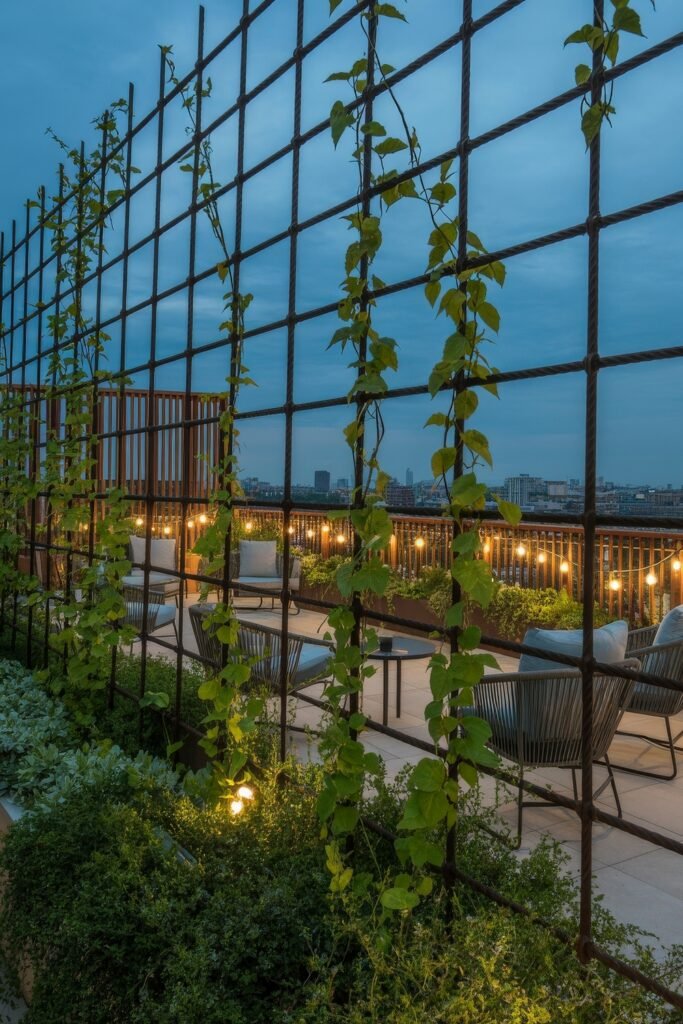
Cables are the ninja version of lattice—barely there yet strong.
Run thin steel lines
Stretch wires from floor to ceiling or wall to wall. Keep them tight so they don’t hum in the wind. The pattern can be straight, zigzag, or crisscross—your art, your rules.
Let vines do the cling
Clematis or creeping fig grab cables with ease. Their leaves create a soft filter that cuts glare but still shows the horizon.
Water the roots, not the wires
Vertical plants dry out quick. Stick a slow-drip spike in the pot so you’re not out there with a watering can every sunrise.
Cable screens feel airy by day and fairy-lit at night if you add tiny bulbs. They offer privacy without the boxed-in vibe.
Quick tip: Space anchors about a foot apart; closer anchors keep cables from sagging once vines get heavy.
Pattern the Floor for Built In Wow
A bold floor sets the vibe before the first plant arrives. Here we’ll play with checkerboard tiles and roll-up rugs that hide tired concrete. You’ll learn to size patterns so chairs don’t wobble, and we’ll show slip-off tricks renters can undo in ten minutes. Get ready to feel like you own a café patio, even if you still share a hallway mailbox.
Pattern underfoot also zones the space—dining here, lounging there—without putting up walls. Your deck turns into rooms, not just a slab.
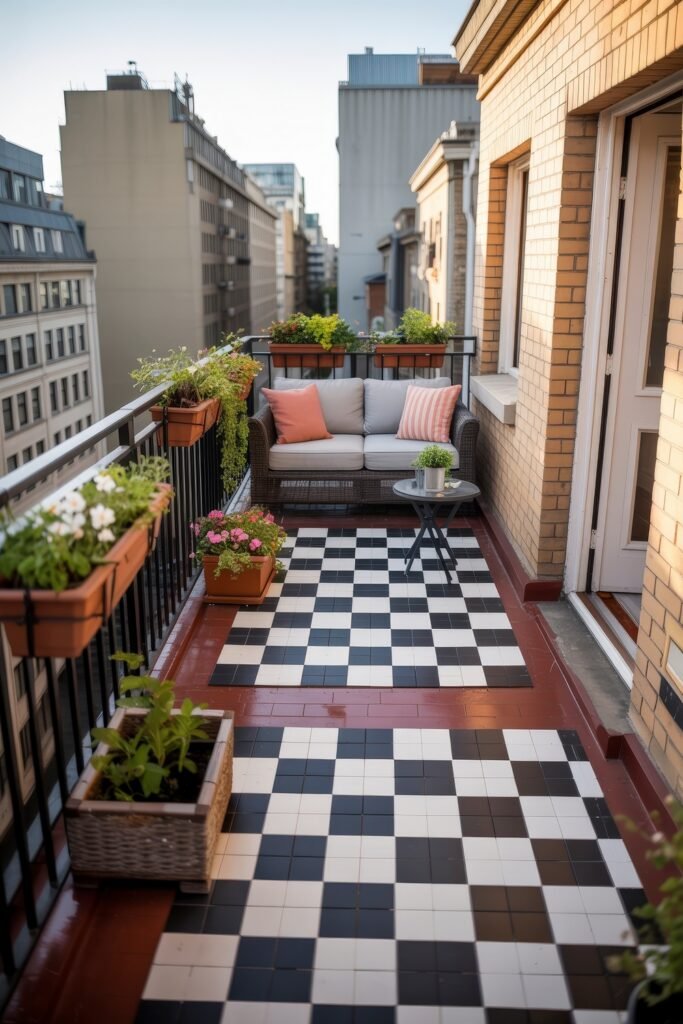
Lay Checkerboard Tiles to Zone Lounges
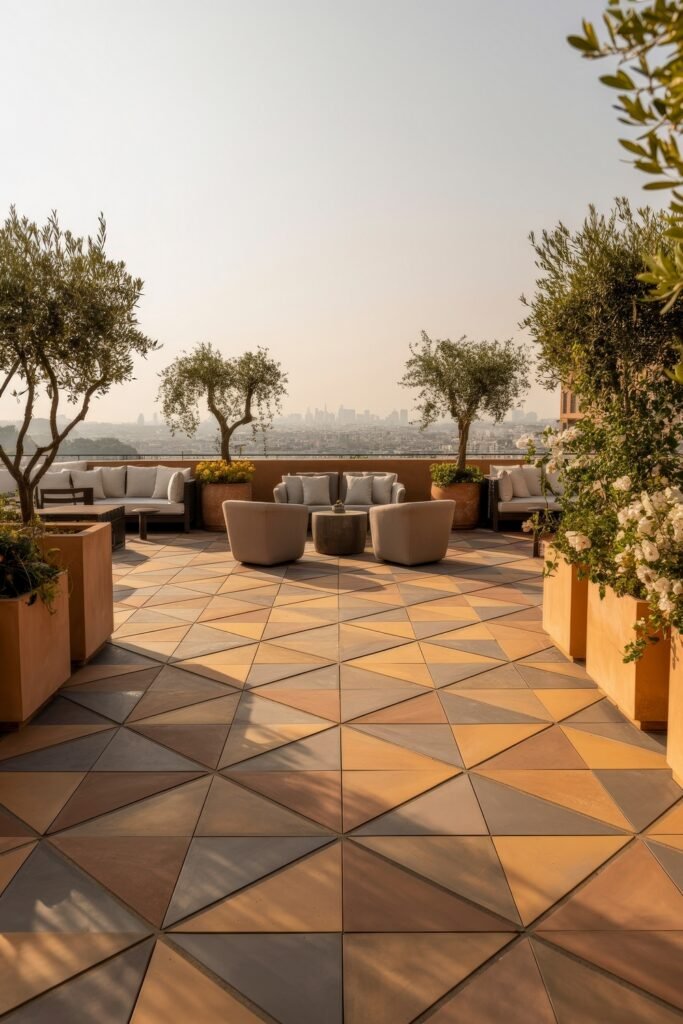
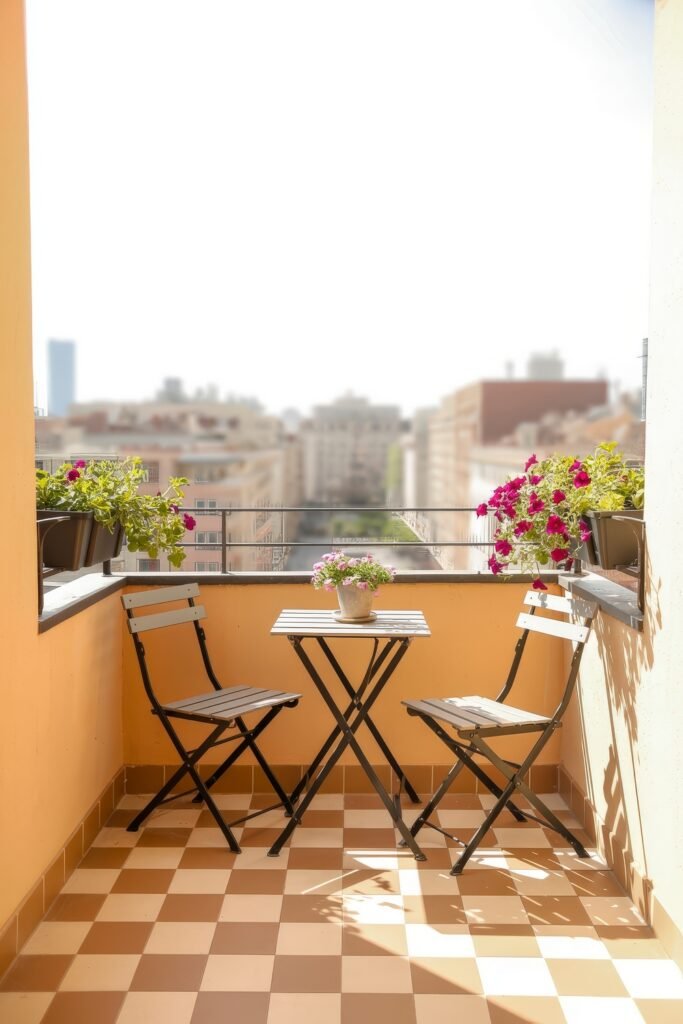
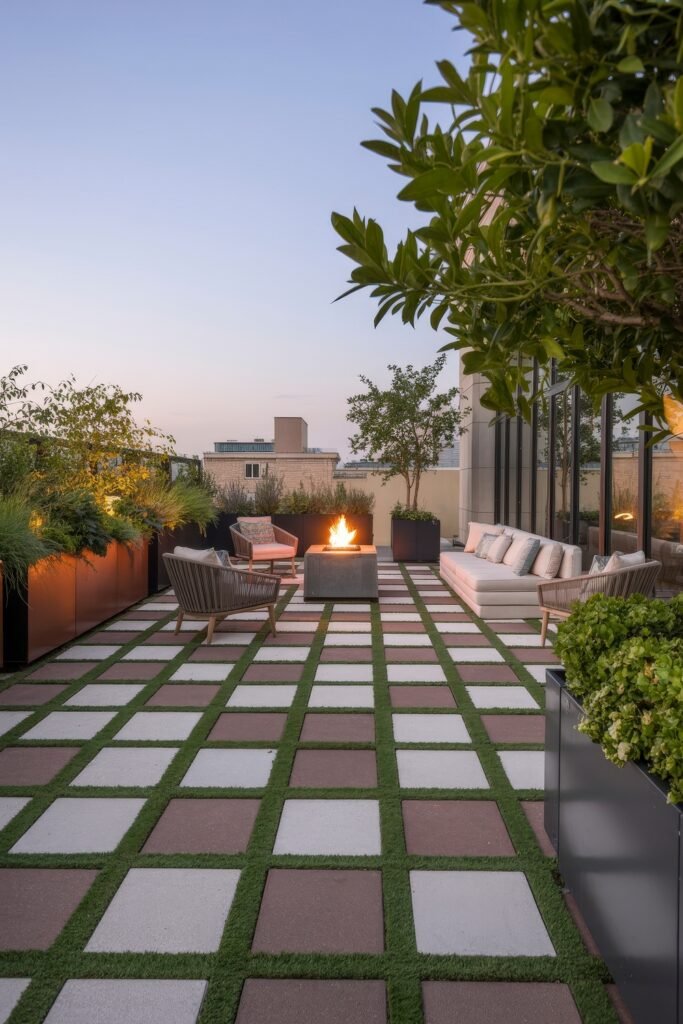
Checkerboard isn’t just black and white anymore. Earthy squares soften the grid and flatter greenery.
Go big on square size
Tiles about a foot wide look modern and make small decks feel spacious. Tiny checks can feel fussy and busy.
Try diagonal layout
Turn the grid forty degrees and watch the floor stretch. Diagonal lines pull the eye corner to corner, adding width you don’t really have.
Paint if you can’t tile
On a rental? Use porch paint and painter’s tape. Two coats and a sunny afternoon later, you get the same designer vibe.
Whether real stone or clever paint, checkerboard floors frame furniture like a giant picnic blanket and beg guests to sit.
Pros & Cons: Tiles look luxe but weigh more; paint is light and cheap but may need a touch-up next year.
Use Outdoor Rugs to Soften Lines
If tiles are too permanent, rugs roll out charm in seconds.
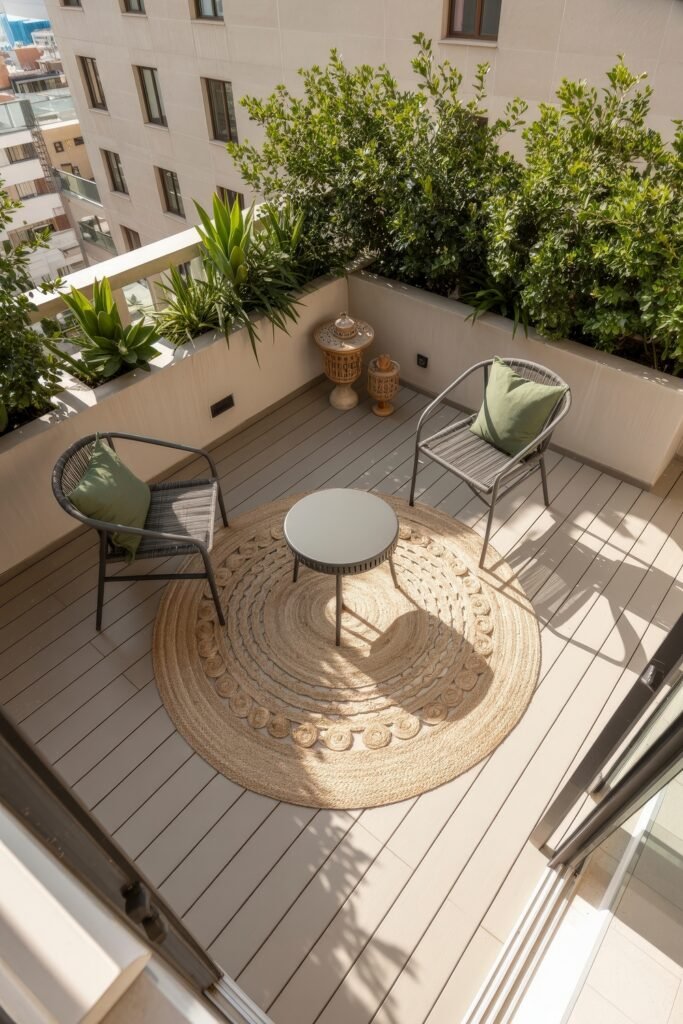
Size it right
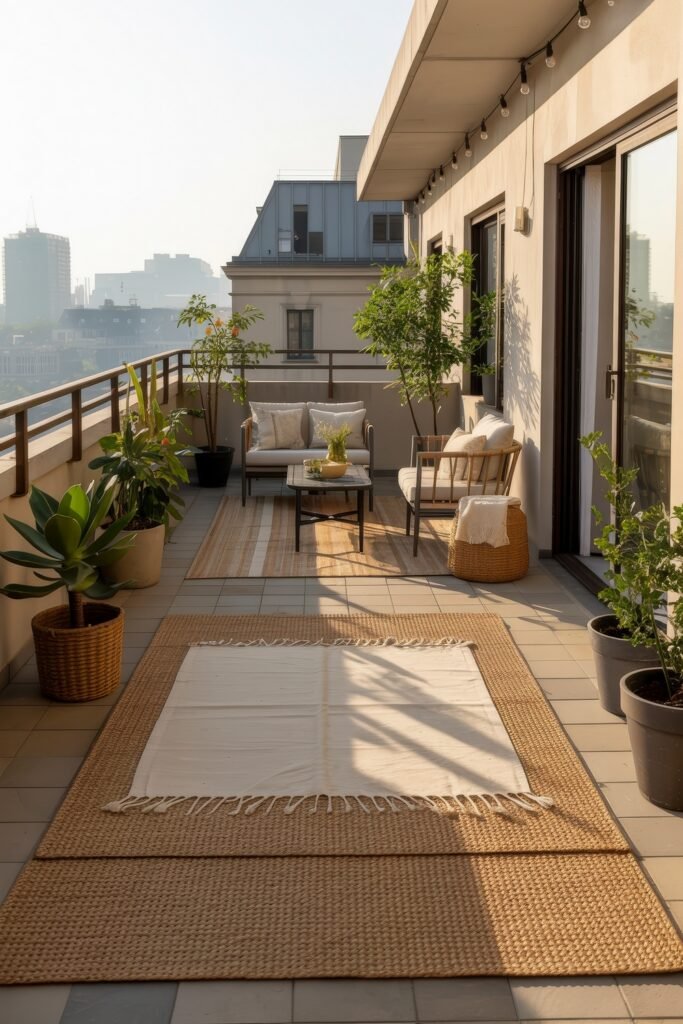
The rug should slip under at least the front legs of every seat. Anything smaller feels like a lonely placemat.
Go round on square decks
A circle breaks the boxy outline of rails and tricks eyes into seeing more space. Bonus: no corners to trip on.
Layer textures
Place a flat weave down first, then a smaller jute-look mat on top. Layers add indoor coziness without fear of rain.
Outdoor rugs warm bare feet, mute echoes, and protect wood or tile from chair scrapes. Roll them up at lease end and you’re out the door.
Quick tip: Pick UV-stable fibers; they shrug off sun and dry fast after showers.
Glow After Sunset with Layered Lights
Daytime gardens are great, but nighttime sparkle keeps the party going. We’ll hang café-style strings up high and sneak tiny uplights into pots. You’ll learn how warm bulbs flatter faces and why dimmers are date-night gold. By the end of this part, your terrace will feel like a rooftop bar—minus the long line for the restroom.
Lights also make small places safer. No more stumbling on dark steps or mystery puddles when you tiptoe out for a midnight snack.
Drape Festoon Strands Overhead for Sparkle
String lights cast a gentle glow that flatters leaves and selfies alike.
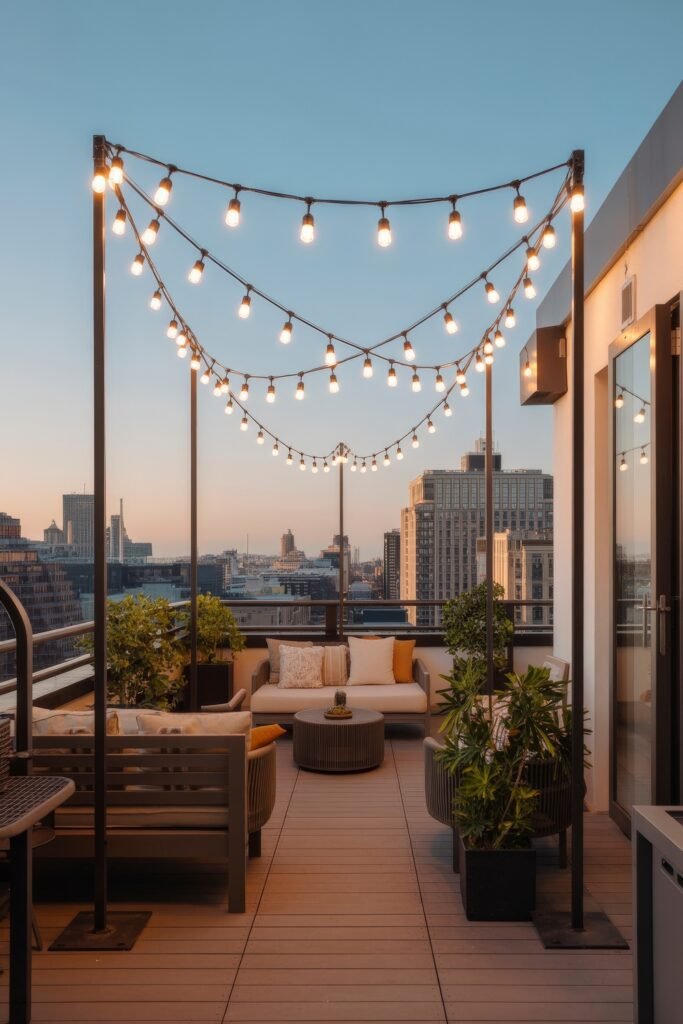
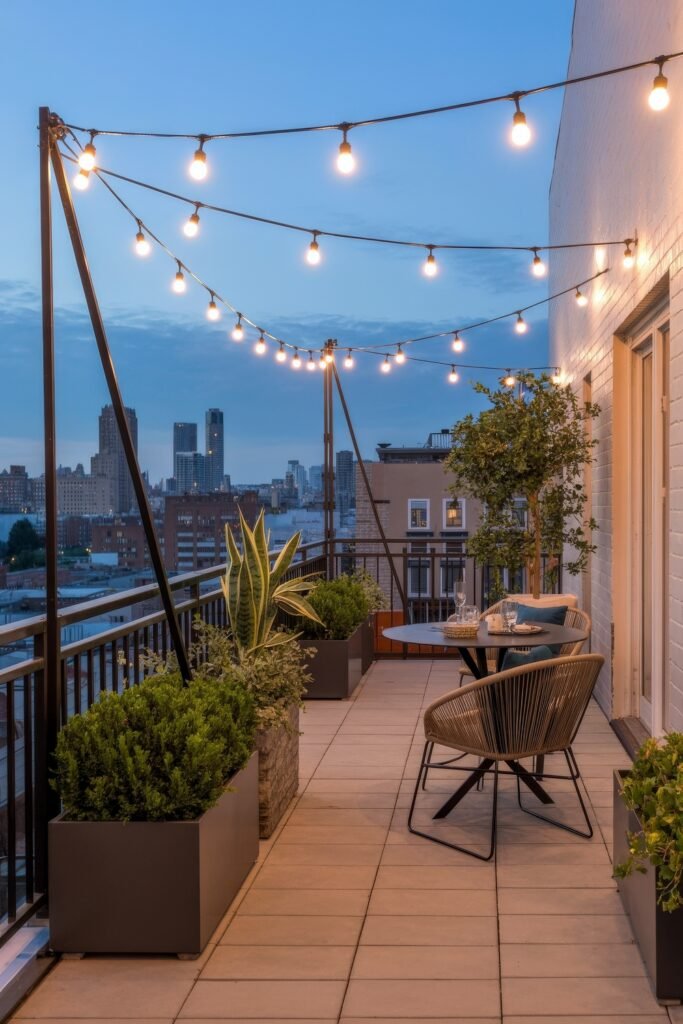
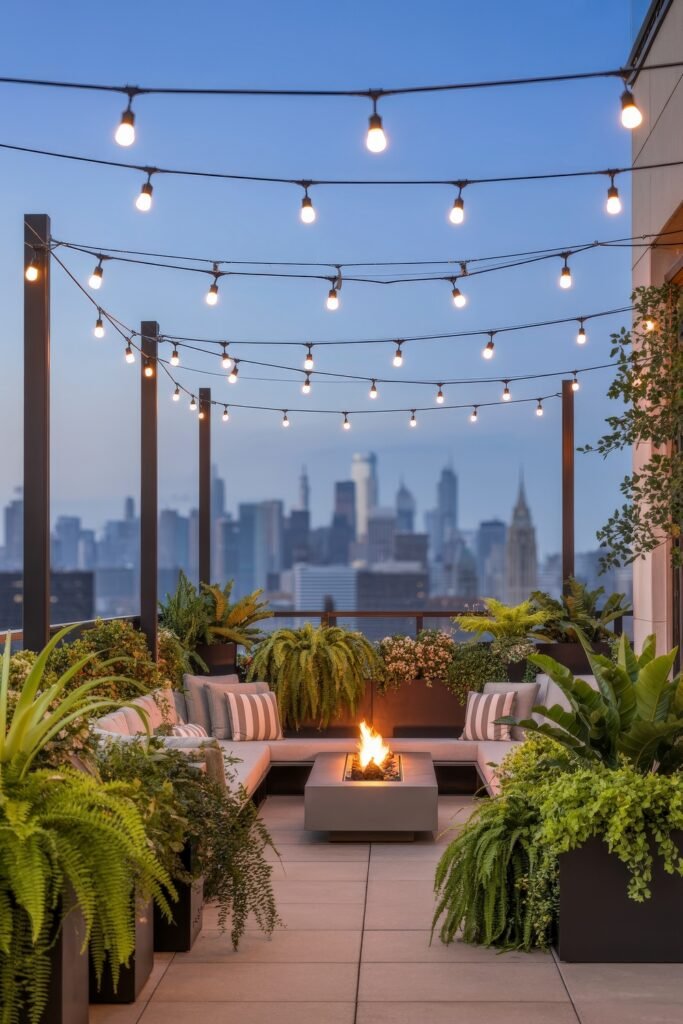
Stretch in wide V shapes
Anchor bulbs from one corner post to the opposite rail so they form a smile overhead. It fills the space with even light.
Keep spans short
Stay under the maker’s max length so lines stay tight, not saggy. Nobody wants to duck under droopy wires.
Add a dimmer
Plug-in dimmers let you dial brightness from dinner to after-hours chill with one slide.
One strand looks charming; two or three feel like your own street festival. And with LEDs, your power bill stays calm.
How to: Push a freestanding pole into a big planter to create a middle anchor when walls are too far apart.
Hide Tiny Uplights in Planters for Drama
While strings paint the ceiling, uplights turn plants into sculptures.
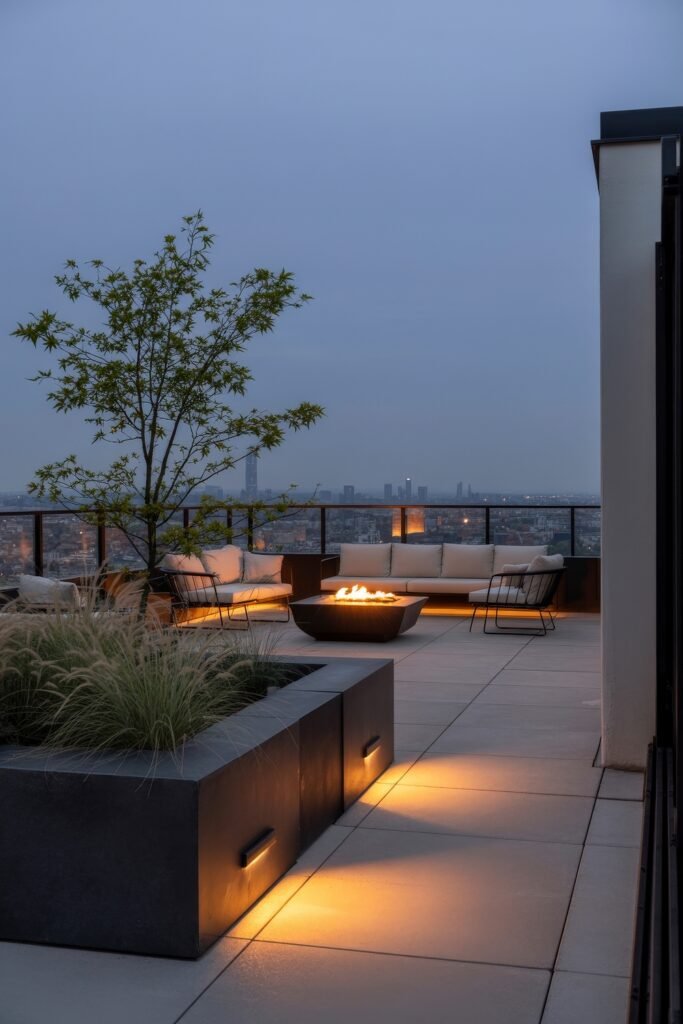
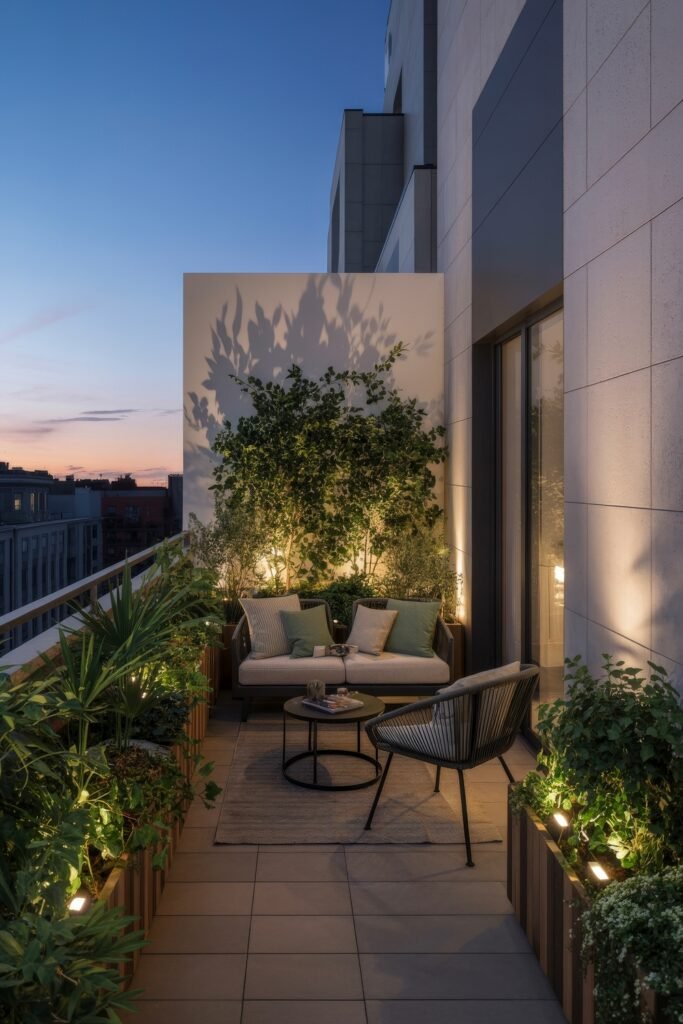
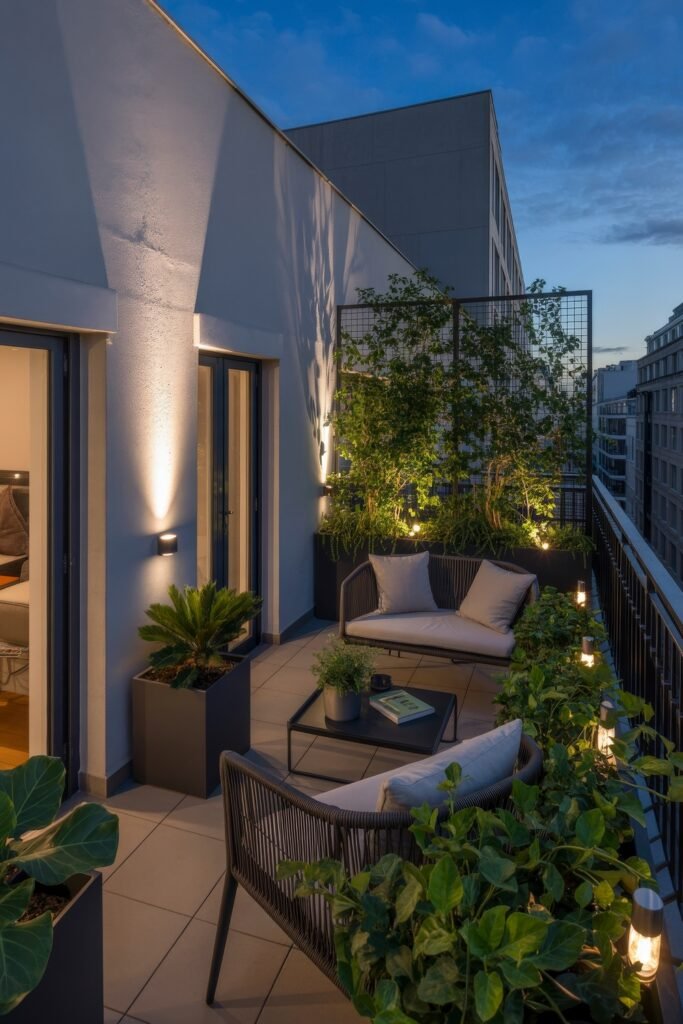
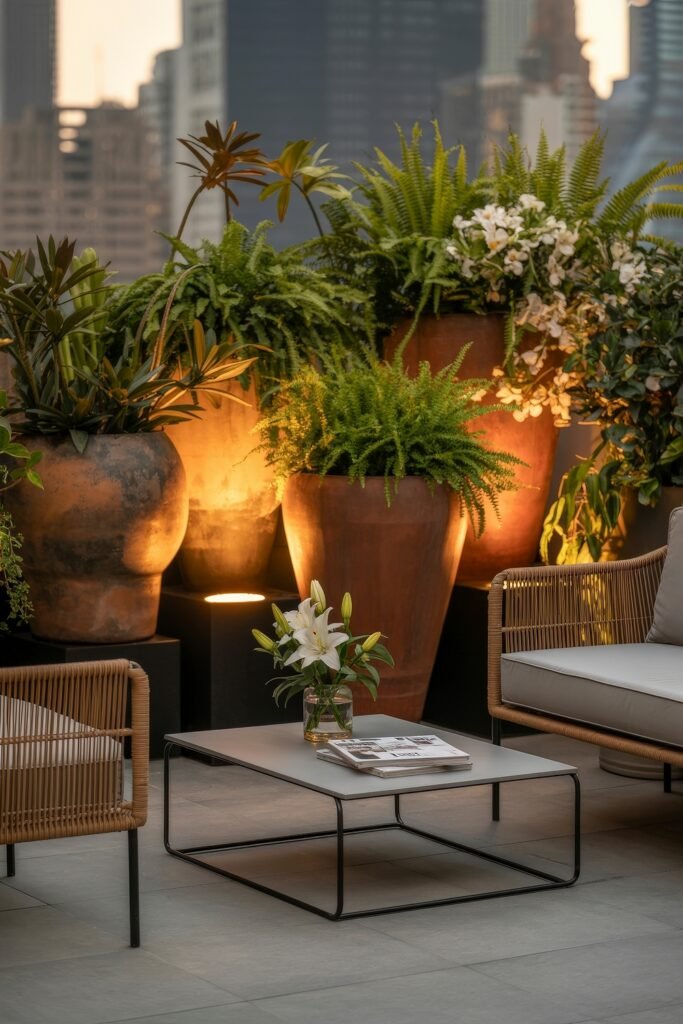
Tuck lights at the base
Aim the beam up at 30–45 degrees. This grazes leaves and shows off texture without blinding friends.
Match bulb warmth to leaf color
Warm light flatters silvery olives; cooler light deepens dark greens. Tiny filters snap on easy.
Hide the wires
Run cords under mulch or along pot rims. Out of sight, out of mind, no trip hazards.
Little spotlights add depth, guide feet, and make every night feel like a movie set. Your plants never looked so fancy.
Quick tip: Solar stakes work great in sunny pots, but choose wired LEDs for shaded corners that need steady glow.
Fold and Roll Furniture for Flexible Parties
Small terraces work overtime—coffee nook at dawn, dance floor at dusk. Fold-flat chairs and rolling planters keep things breezy. In this section you’ll stash seats in inches of space and glide heavy pots with one hand. Goodbye clutter, hello instant party!
Flexible pieces also hide fast during storms or winter. Less lifting, more living.
Store Fold Flat Chairs Between Gatherings
Extra chairs are handy, but not when they hog the deck all week.
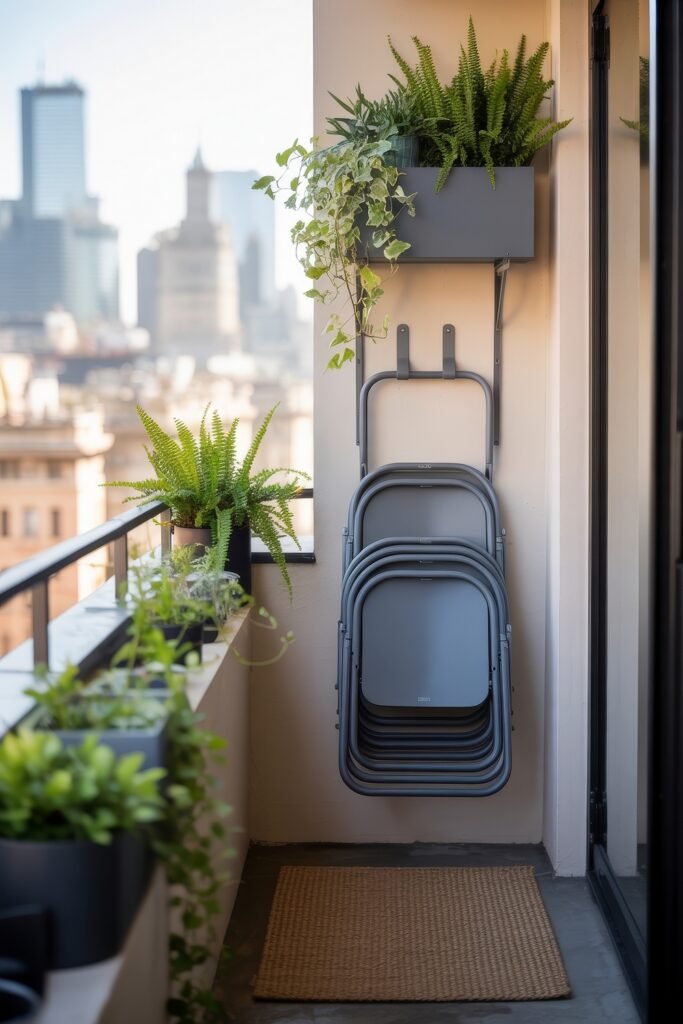
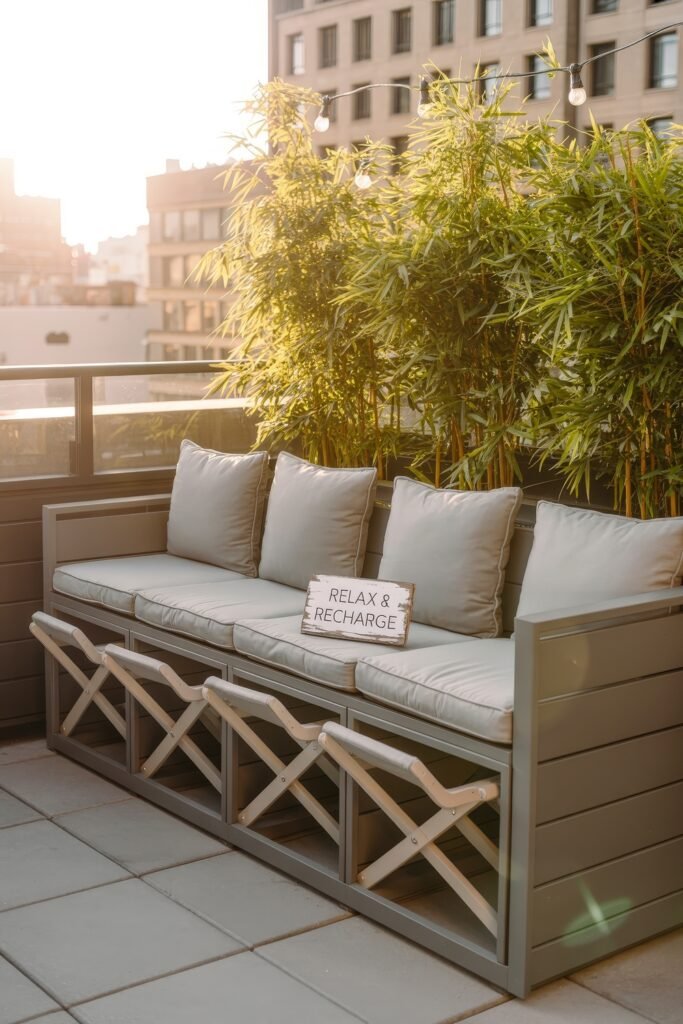
Pick slim fold depth
Chairs that fold to about four inches slip behind a planter or against a wall. Out of sight, floor looks bigger.
Stack smart
Place the heaviest piece, like a bench, closest to the door. Lighter chairs sit in front for easy grab-and-go.
Keep finishes matching
Stick with one wood tone or metal color. Even mixed models look like a set when shades match.
Fold-flat stuff turns your terrace into a pop-up room—there when guests arrive, gone when morning yoga calls.
Pros & Cons: Folding furniture saves space but may not love heavy rain; stash it or cover it to keep hinges happy.
Wheel Planters to Chase Seasonal Sun
Plants on casters move like well-trained pets—where the light is, there they go.
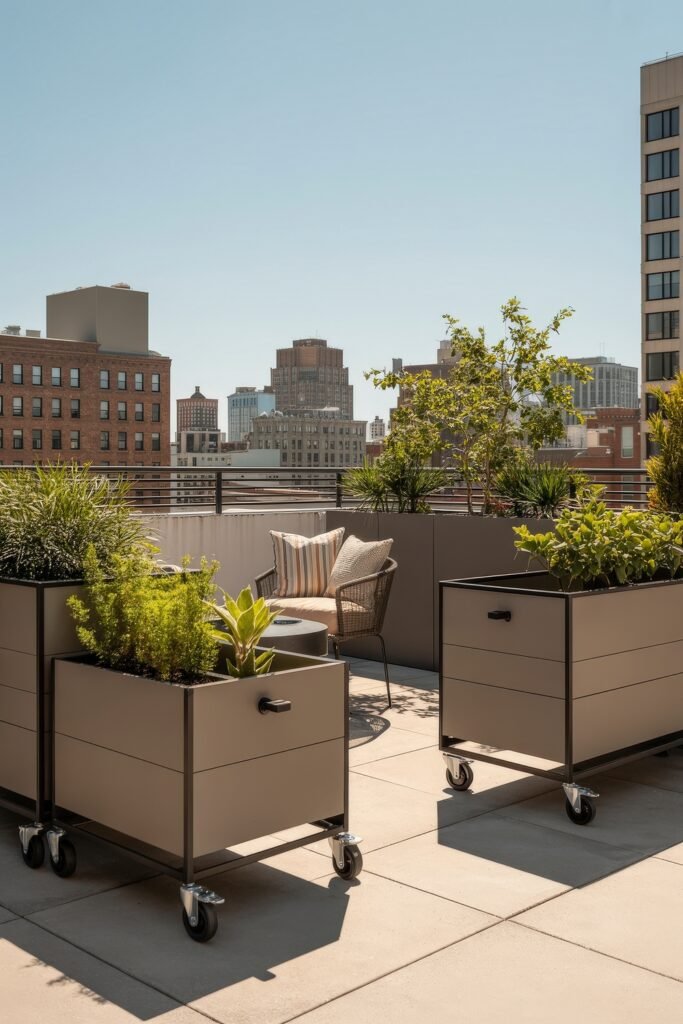
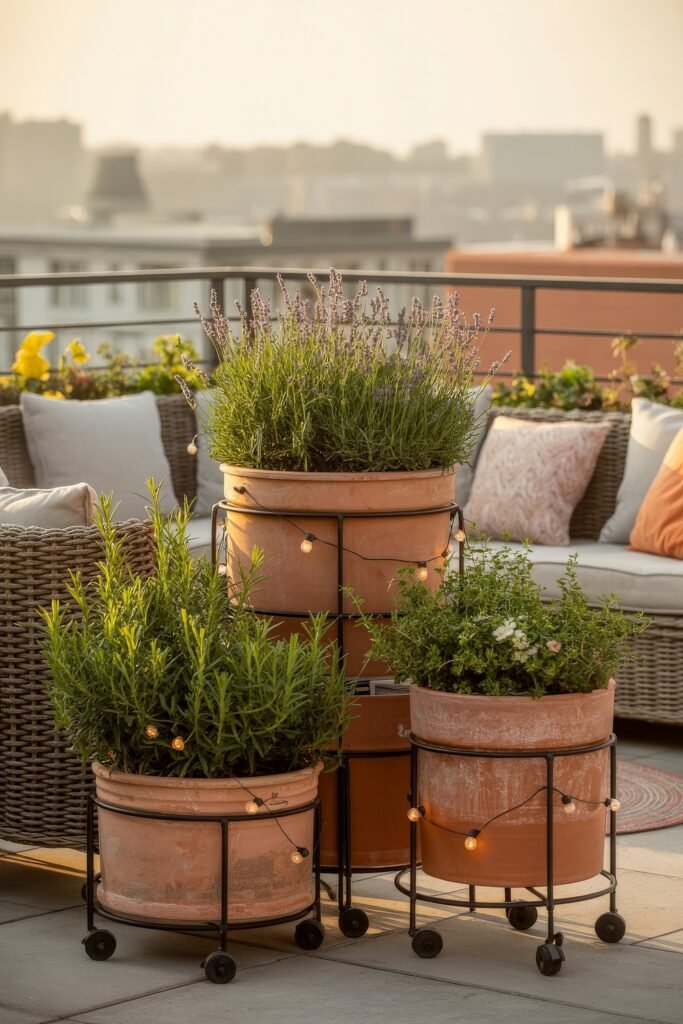
Choose wide-base caddies
A 12-inch wheel frame keeps tall pots steady over uneven pavers. No runaway herbs.
Lock before parties
Kick the brake so friends don’t bump a citrus tree into the salsa bowl. Safety first, lemons second.
Rotate for even growth
Give each pot a quarter-turn every season. Plants stay upright, and leaves tan evenly.
Mobile planters let you redraw the deck for dinner, dancing, or solo stargazing. They’re garden Lego for grown-ups.
Quick tip: Stick felt pads under wheels before rolling pots indoors for winter—your hardwood floors will stay scratch-free.
Terrace garden ideas Thrive with Wind Wise Plants
Rooftops can be harsh—hot sun, sharp wind, and forgetful owners. But the right plants laugh at all that. In this section we’ll pick grasses, succulents, sturdy herbs, and tiny evergreens that handle rough weather like champs. You’ll also learn soil tricks that stop pots from tipping or flooding. Get ready for green that survives long weekends away.
These tough plants mean less baby-sitting and more hammock time. Your wallet will like not replacing crispy flowers every month.
Choose Hardy Grasses Succulents and Herbs
Think of these plants as the superhero team of rooftop life.
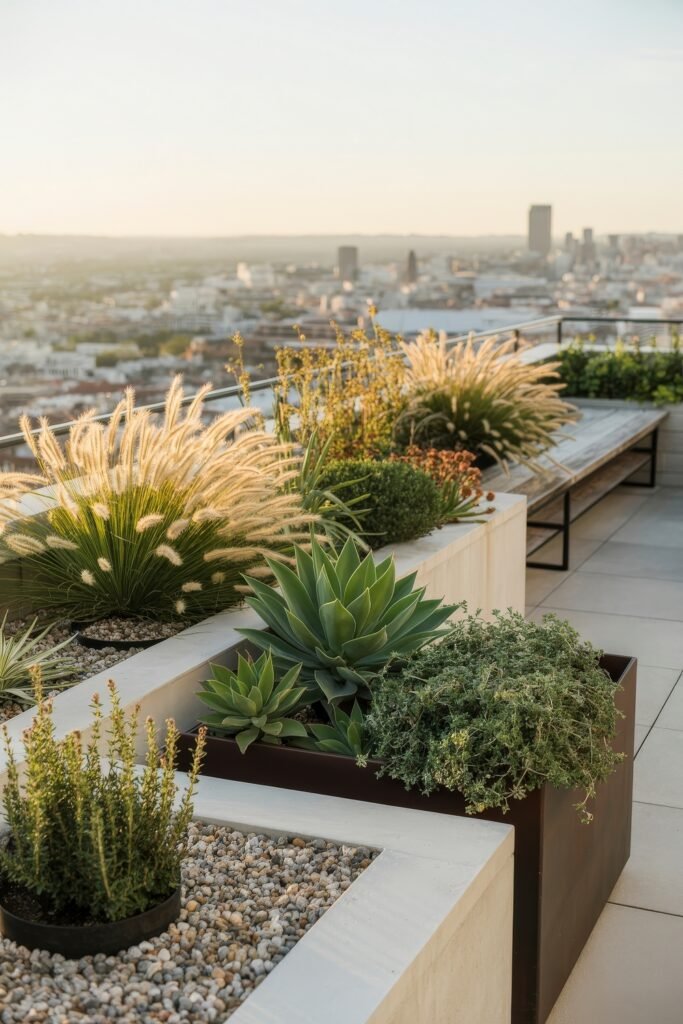
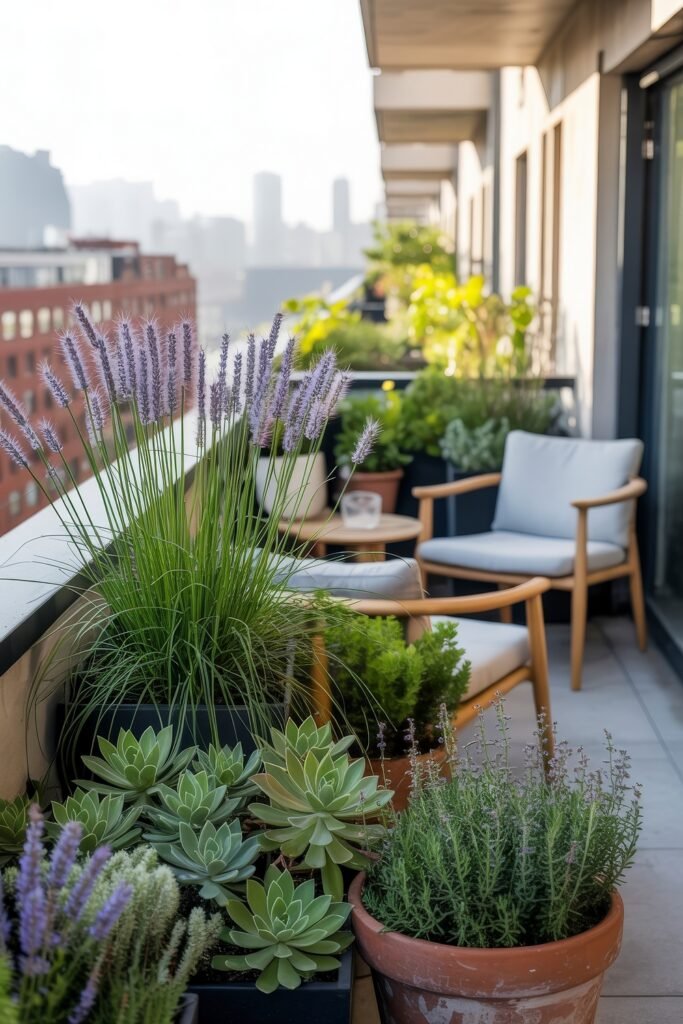
Sway with grasses
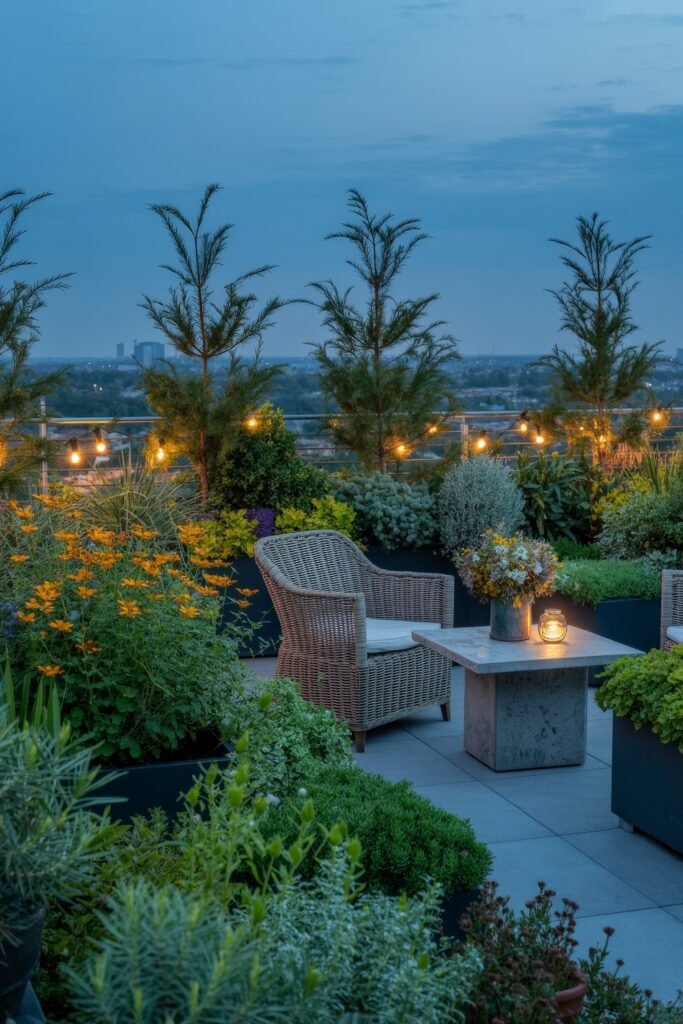
Blue lyme or fountain grass bend, don’t break. Their roots hold tight, and their feathery tops dance in every breeze.
Store water in leaves
Succulents like agave and echeveria pack moisture in their thick pads. They shrug at heat waves while neighbors’ pansies wilt.
Tap deep for drinks
Coneflowers and butterfly weed send roots down like straws. They sip from lower soil layers when you forget the watering can.
Stay green all year
Mini conifers give year-round color and block wind. They act like tiny hedges without outgrowing the pot.
Mix these heroes, and you’ll have movement, color, and scent through every season with almost no fuss.
How to: Use wide, low pots for top-heavy grasses and mix in gravel for succulents—fast drainage, happy roots.
Tuck Aromatics for Surprise Scents and Garnishes
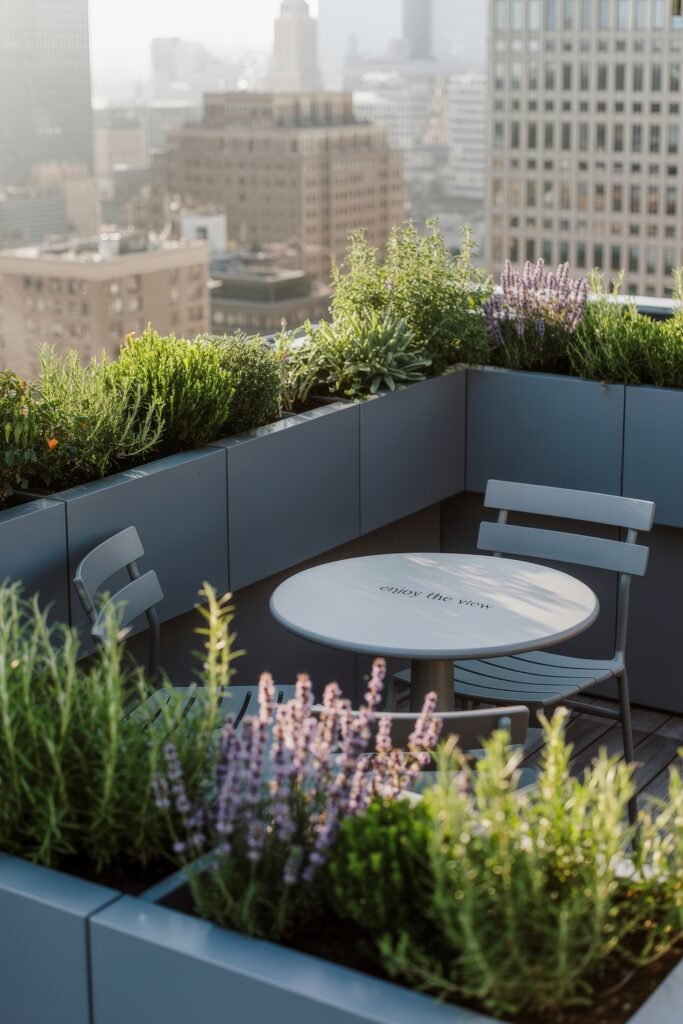
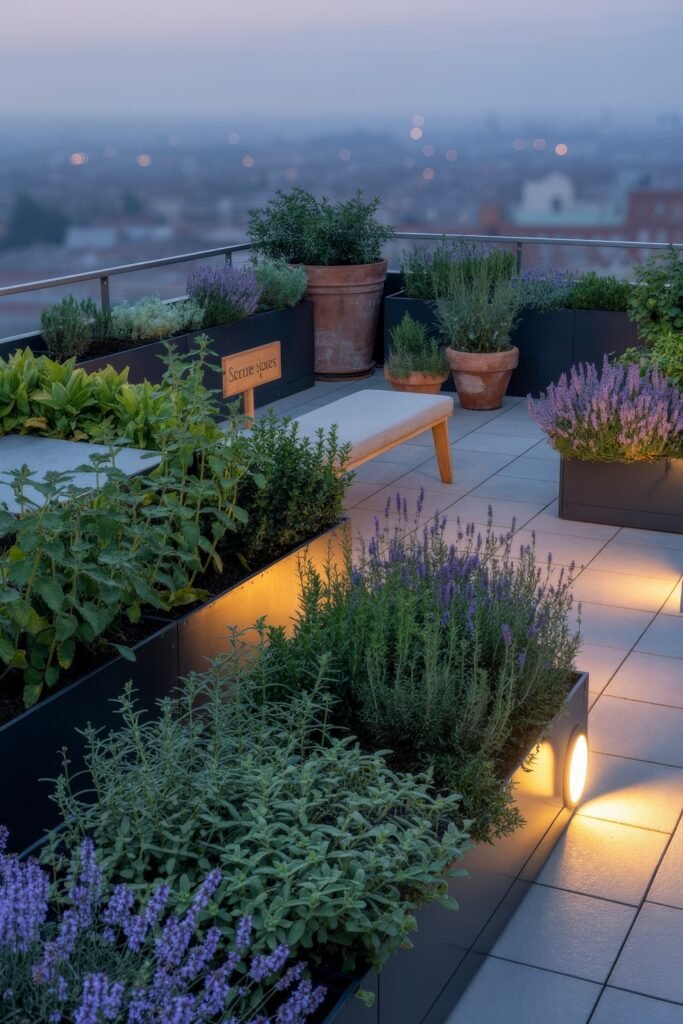
A breeze carrying rosemary or lavender beats any candle.
Plant fragrant borders
Lavender, catmint, and agastache release perfume when brushed. Line them where elbows pass.
Let herbs spill
Creeping thyme or lemon balm trail over pot rims, softening edges and scenting shoes.
Double as kitchen helpers
Rosemary, bay, and scented geraniums season dinner while charming pollinators.
A well-placed whiff turns a hot roof into a seaside retreat. Clip what you need for tea, leave the rest for the bees.
Quick tip: Harvest often; pruning keeps herbs compact and stops wind from snapping long stems.
Your terrace now sports layers of green, bursts of color, moving screens, cozy lights, and furniture that disappears on command. All the ideas fit apartment life—no drilling, no heavy builds, just smart stacking and rolling. With these terrace garden ideas, you’ll sip morning coffee under a tiny tree, soak up sunsets through airy vines, and dance under twinkle lights without tripping on a single pot. City living never felt so leafy.
Conclusion
Terrace garden ideas really can turn a bare roof into your happiest hangout.
- Stack pots on benches for instant, park-like layers
- Hang color-packed railing planters and keep the floor clear
- Pick grasses and succulents that shrug off high winds
Start by grabbing one small win—maybe adding a rolling caddy under your biggest planter so it can chase the sun tomorrow. Got questions or a clever hack for fold-flat balcony chairs, string-light tricks, or fragrant herb combos? Drop them below—I’m all ears. For even more inspo about Terrace garden ideas, hop over to our Pinterest board on Balcony & Terrace Gardening and start pinning!
